FREE SHIPPING to UK for all unframed prints
How To | Pack Your Art
Editorial / Collecting Guides

How To | Pack Your Art

8 Aug 2022

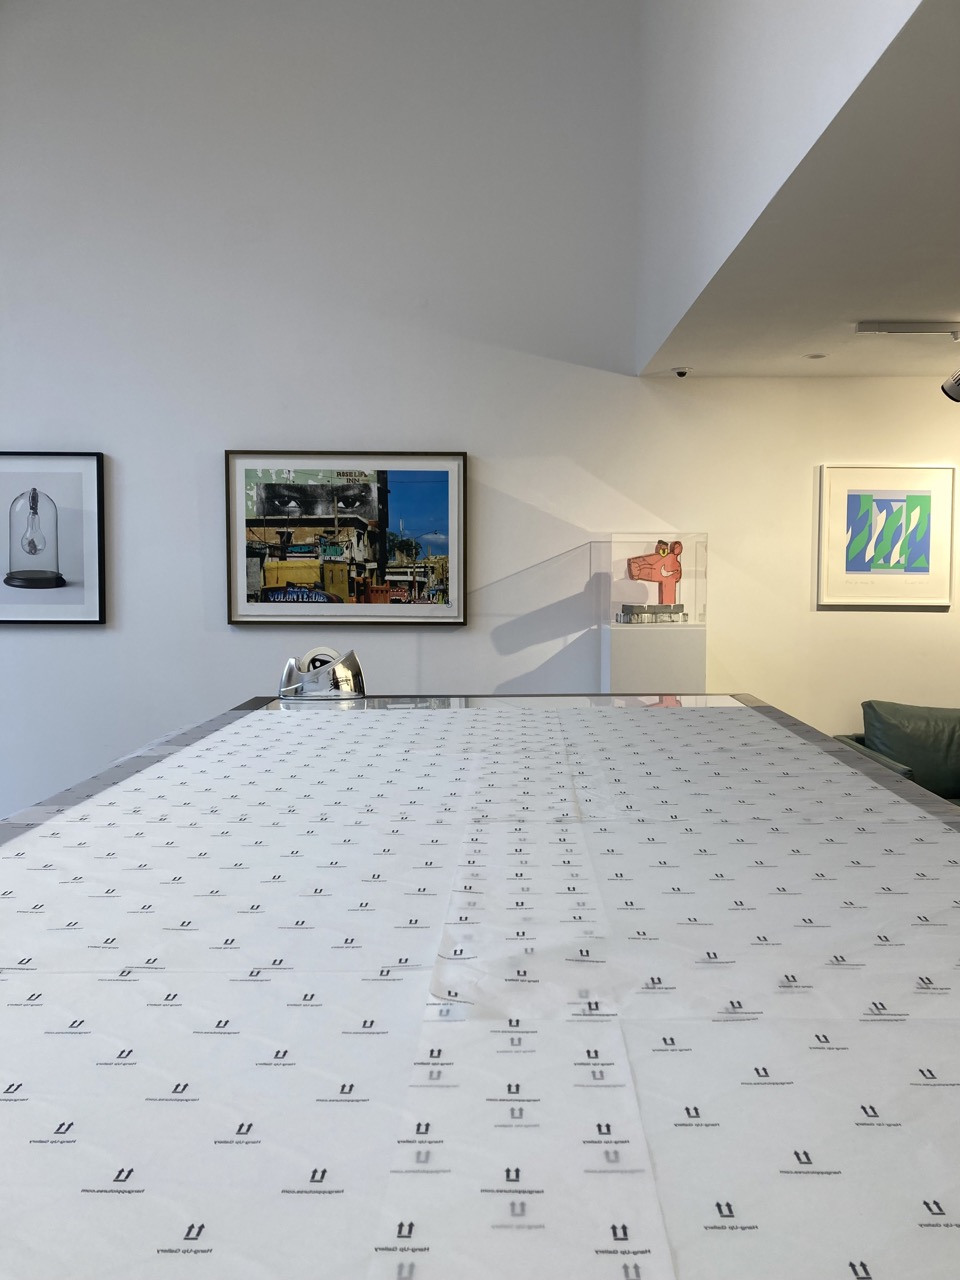
Handling artwork & care instructions for fine art prints

Handling and packing artwork can be daunting, especially if you don't have much experience. Worry not though; following the advice and tips of our expert logistics team should allow you to get it right and keep your artwork safe and secure.

Works on paper are fragile and can be easily damaged by incorrect handling, often without the person doing the damage even realising.

What to keep in mind

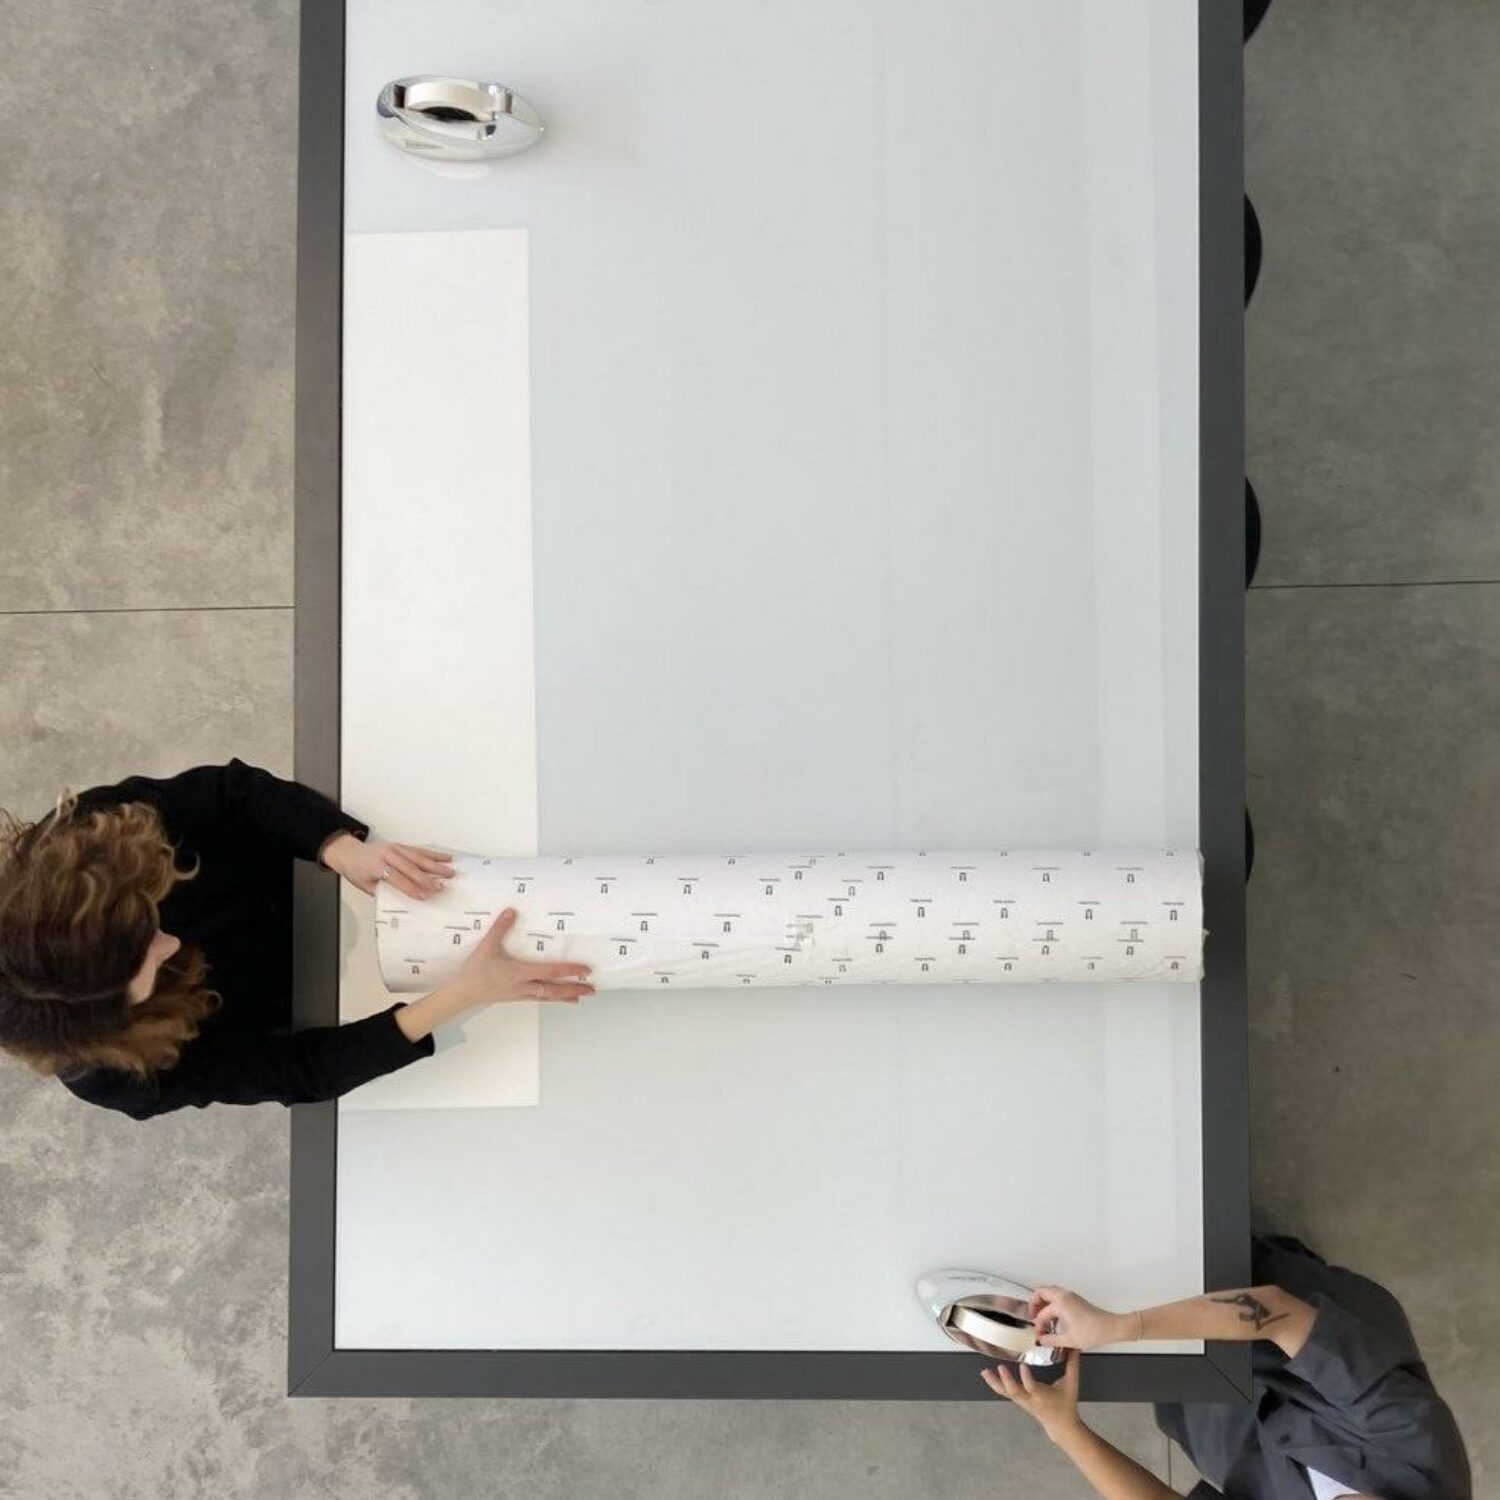
  • Wash and dry your hands before or wear gloves when handling prints, and work on a clean flat surface.
  • Always pick up a print with both hands, holding it on opposite edges. For large prints, it is best to hold on two opposite corners.
  • Keep prints stored flat, in acid-free paper or folders which are larger than the print to be stored. Store in a cool, dry environment, and keep interleaved with acid-free tissue paper.

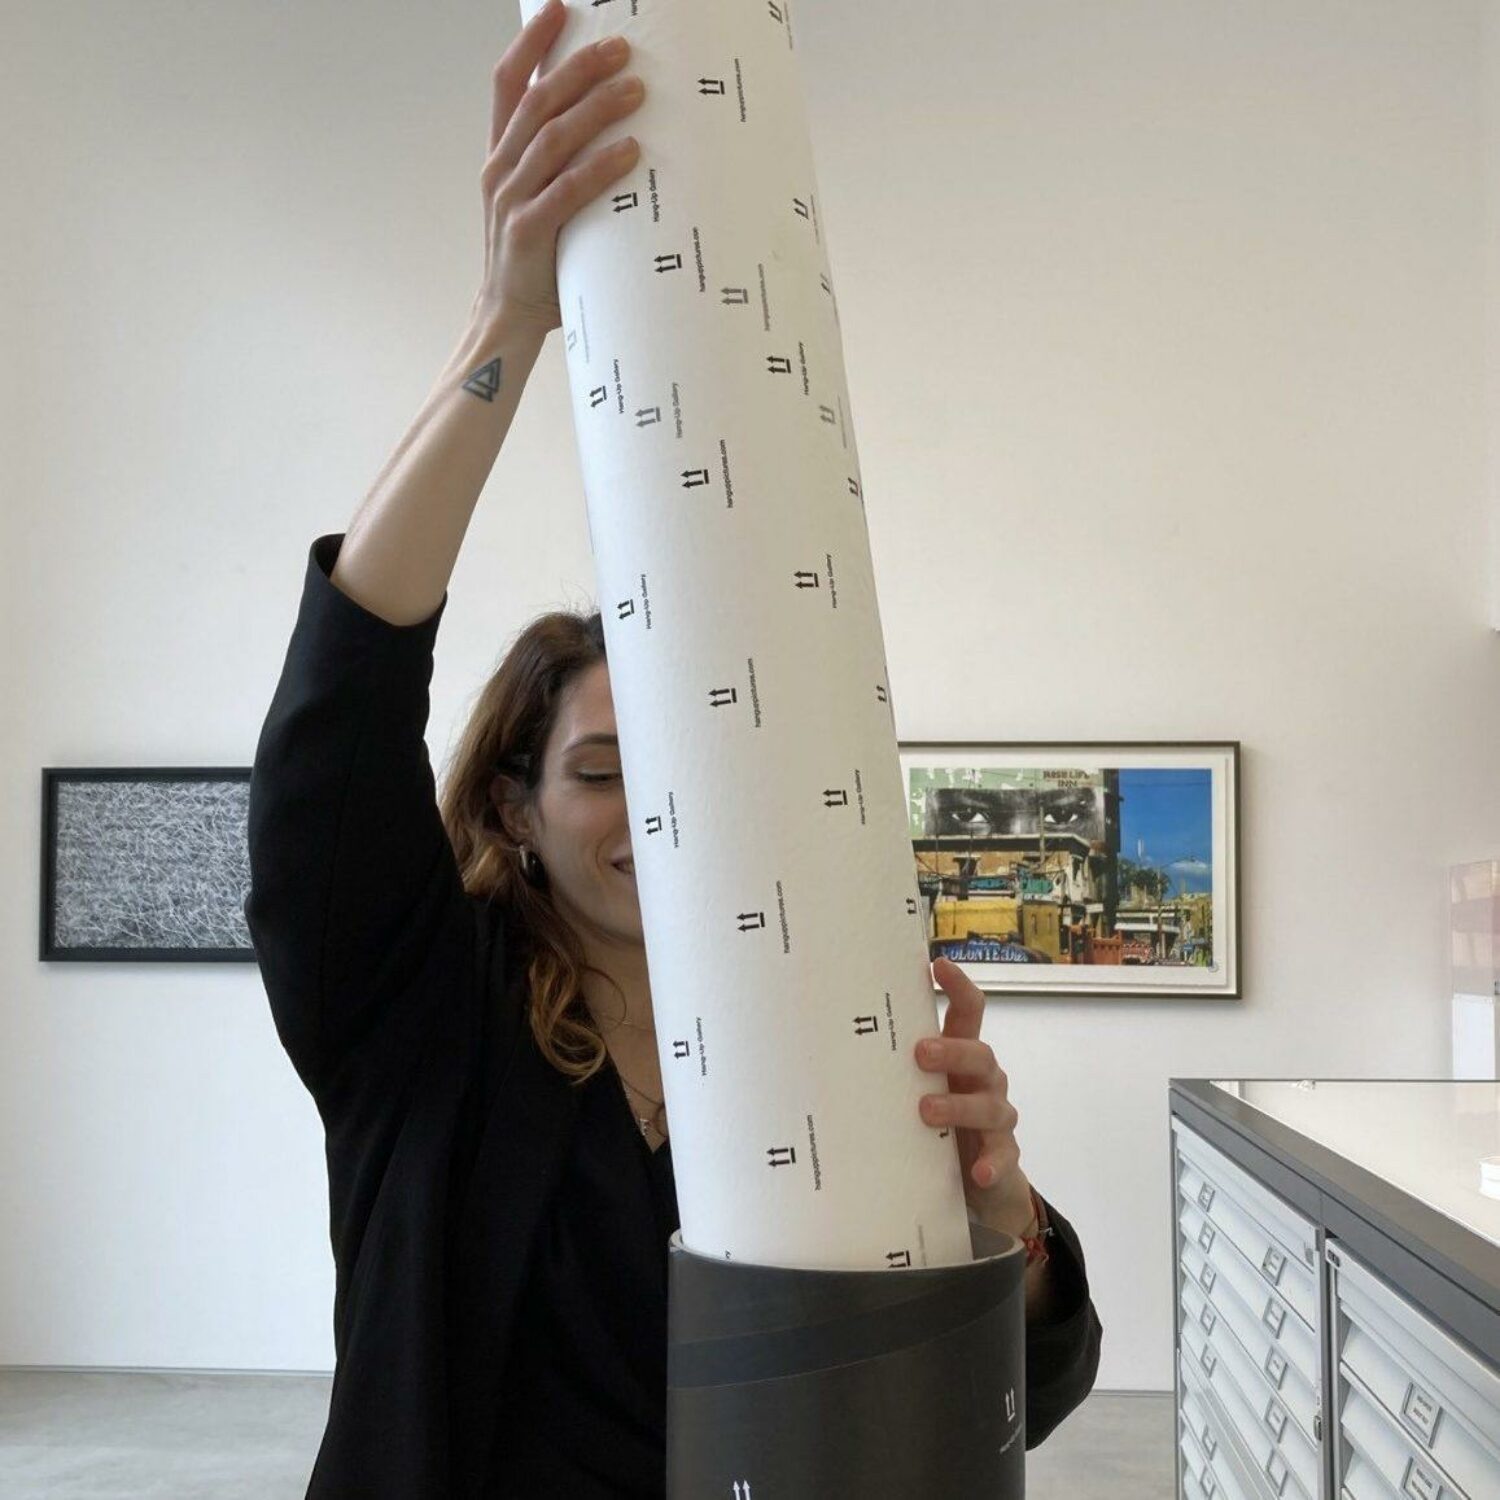
Packing artwork in a tube

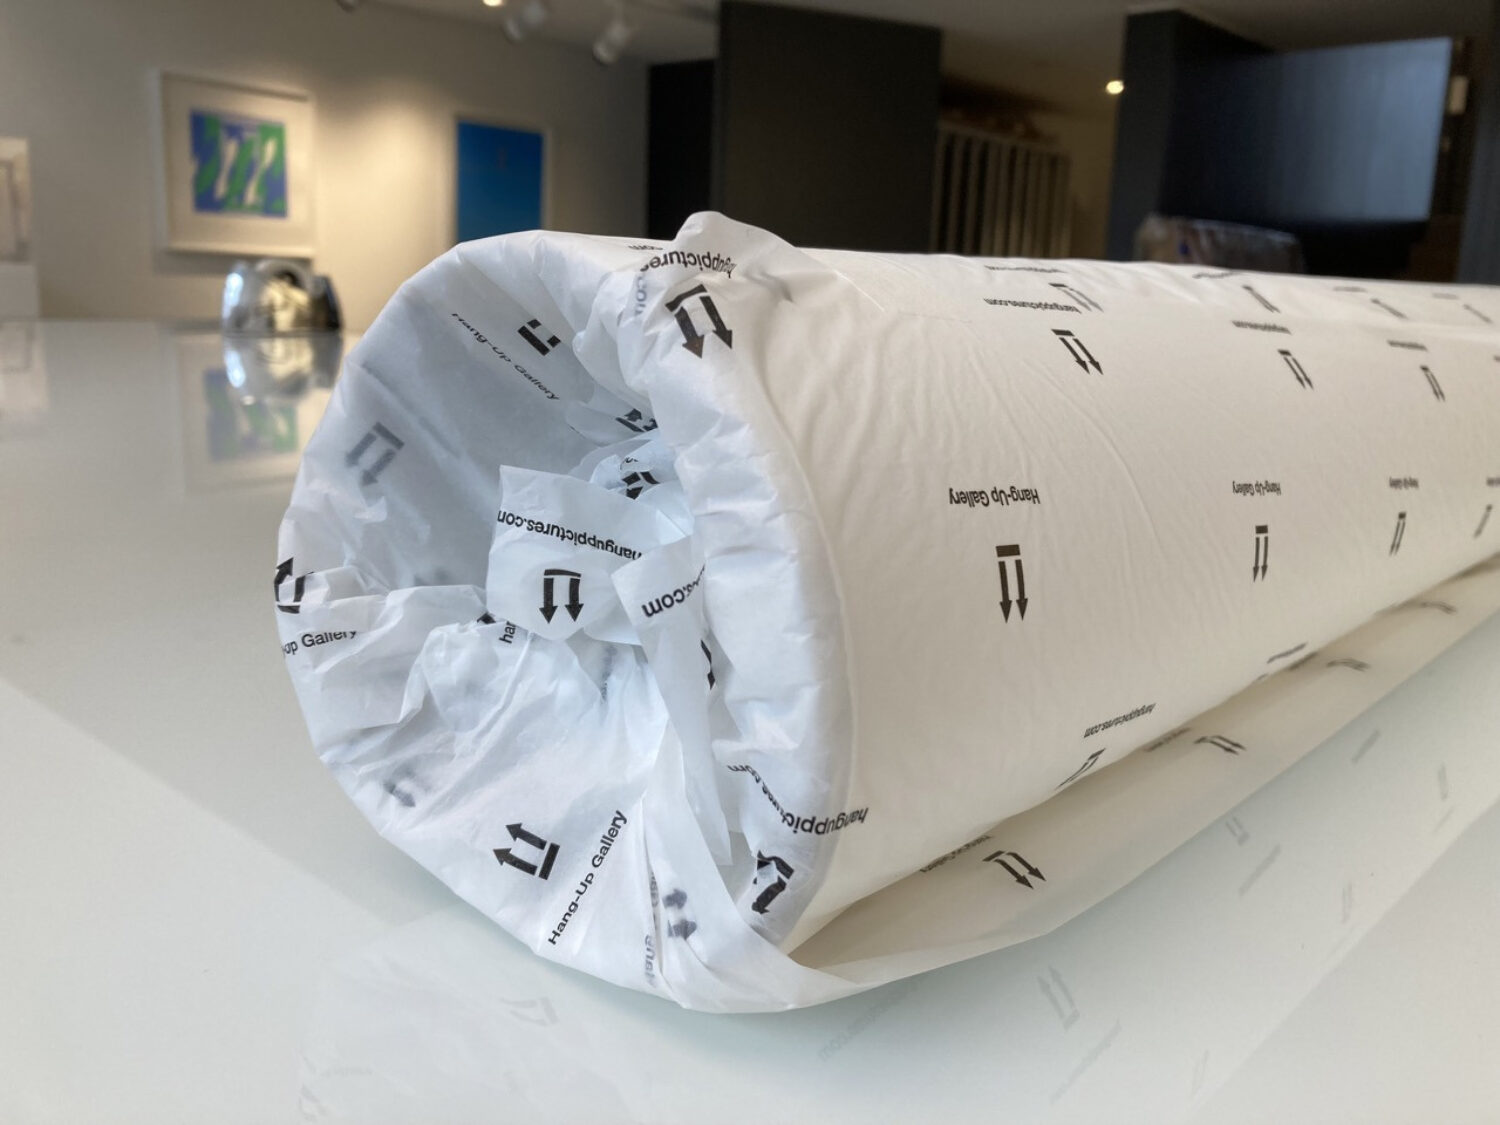
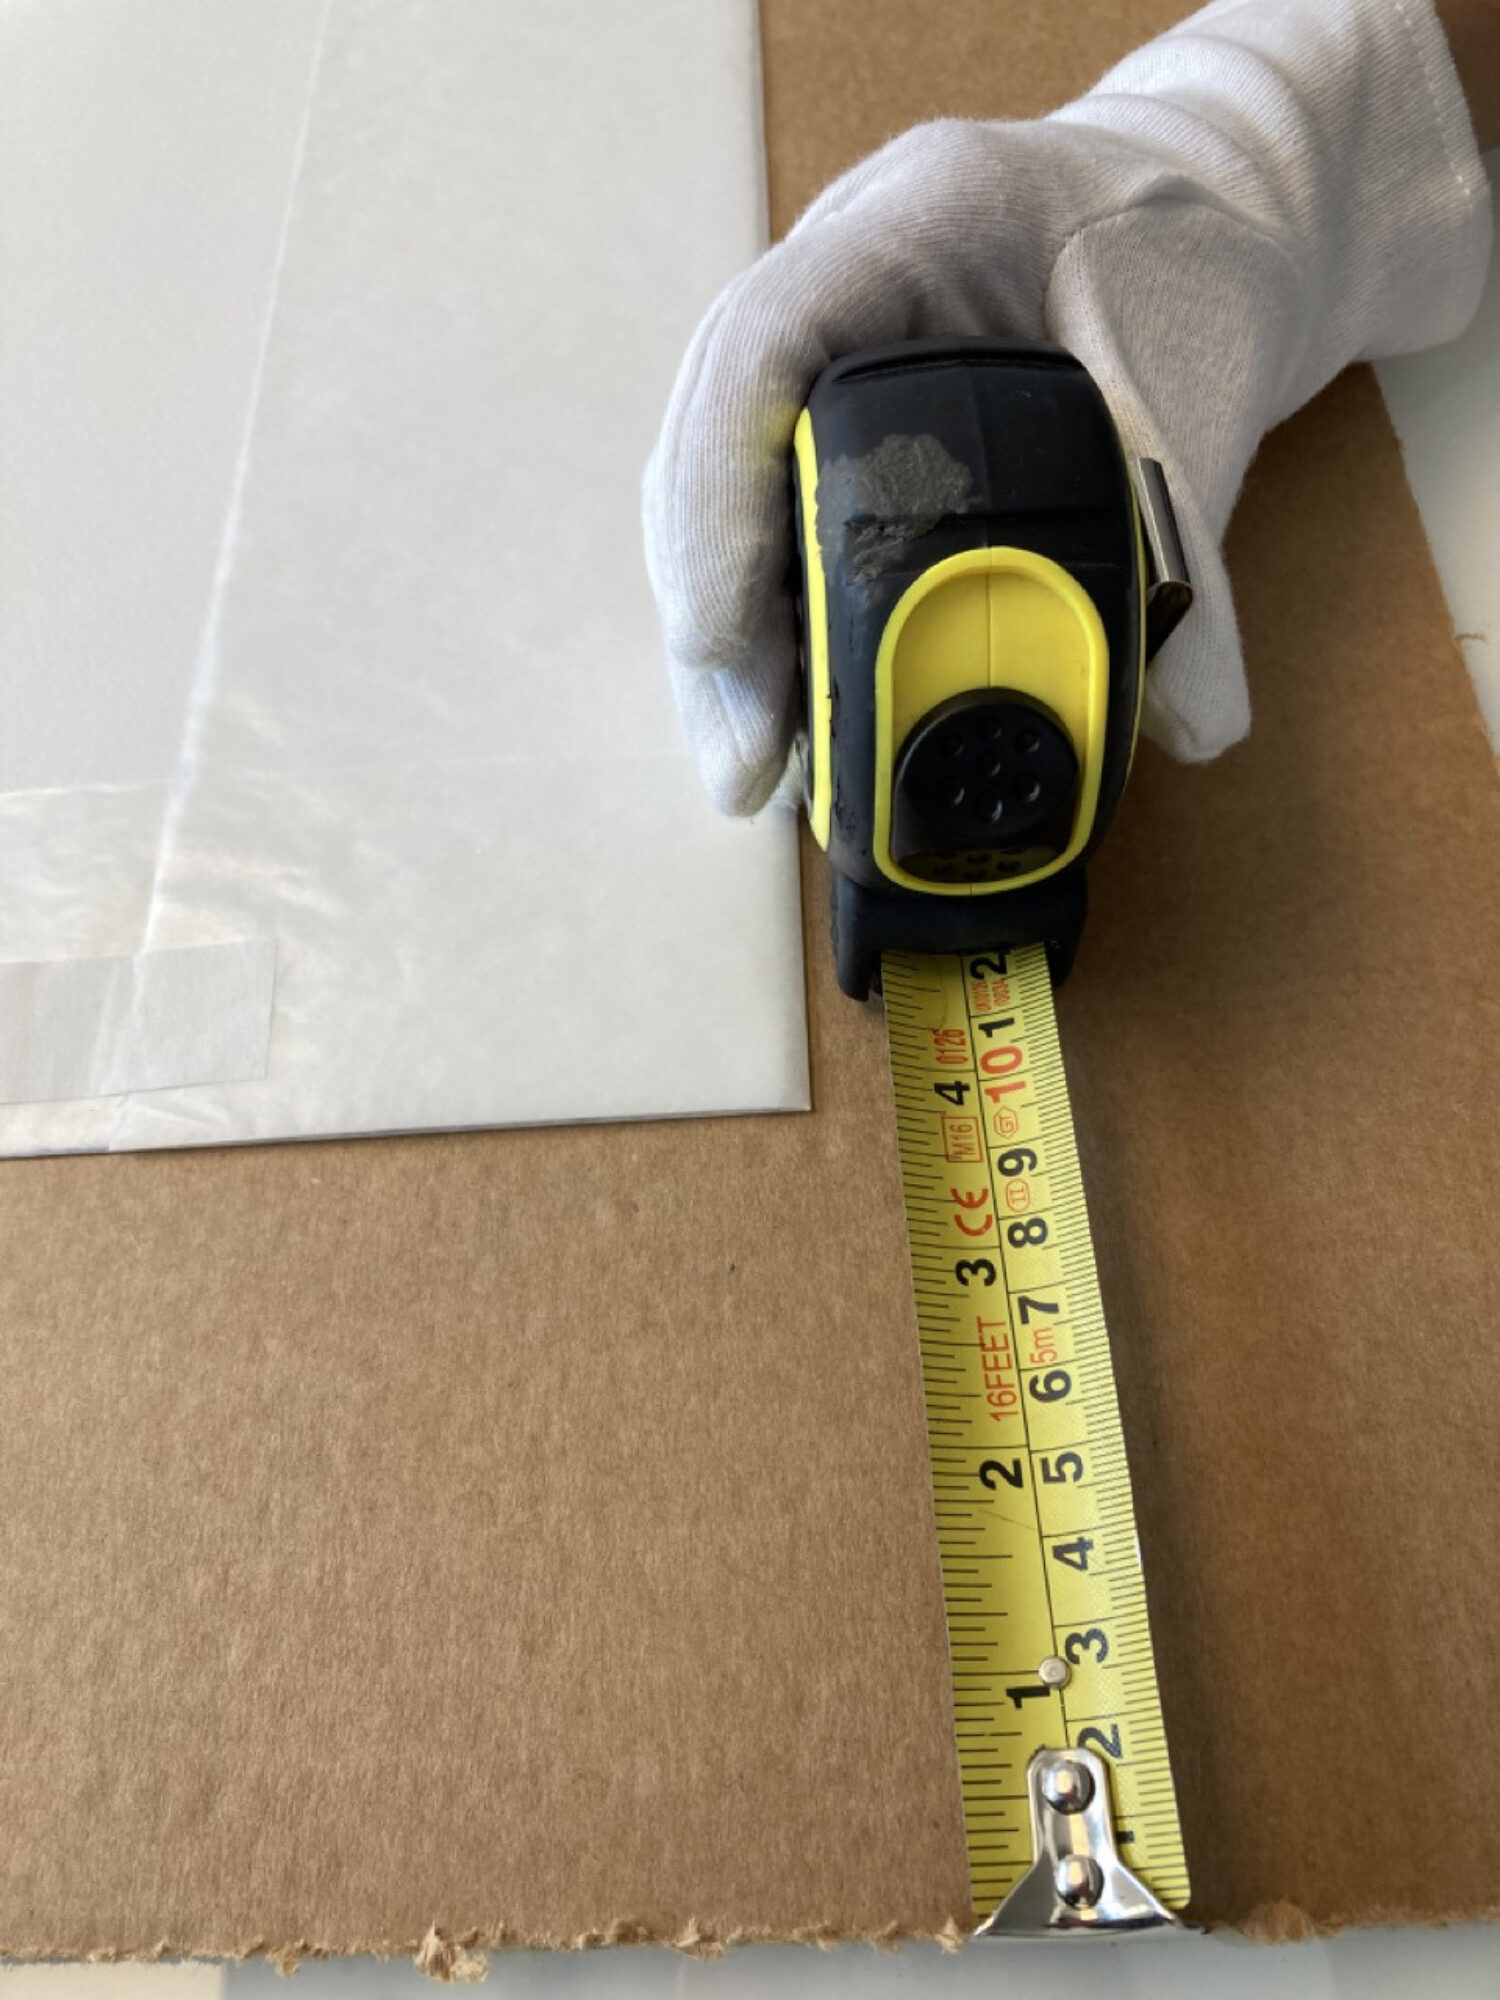
When packing artwork in a tube, always use the right size heavy-duty mailing tube. As a general rule of thumb, the tube you are using should be at least 10 cm taller than the width of the print so that you can provide soft cushioning on either end inside to protect your artwork as it gets transported.

Step-by-step guide

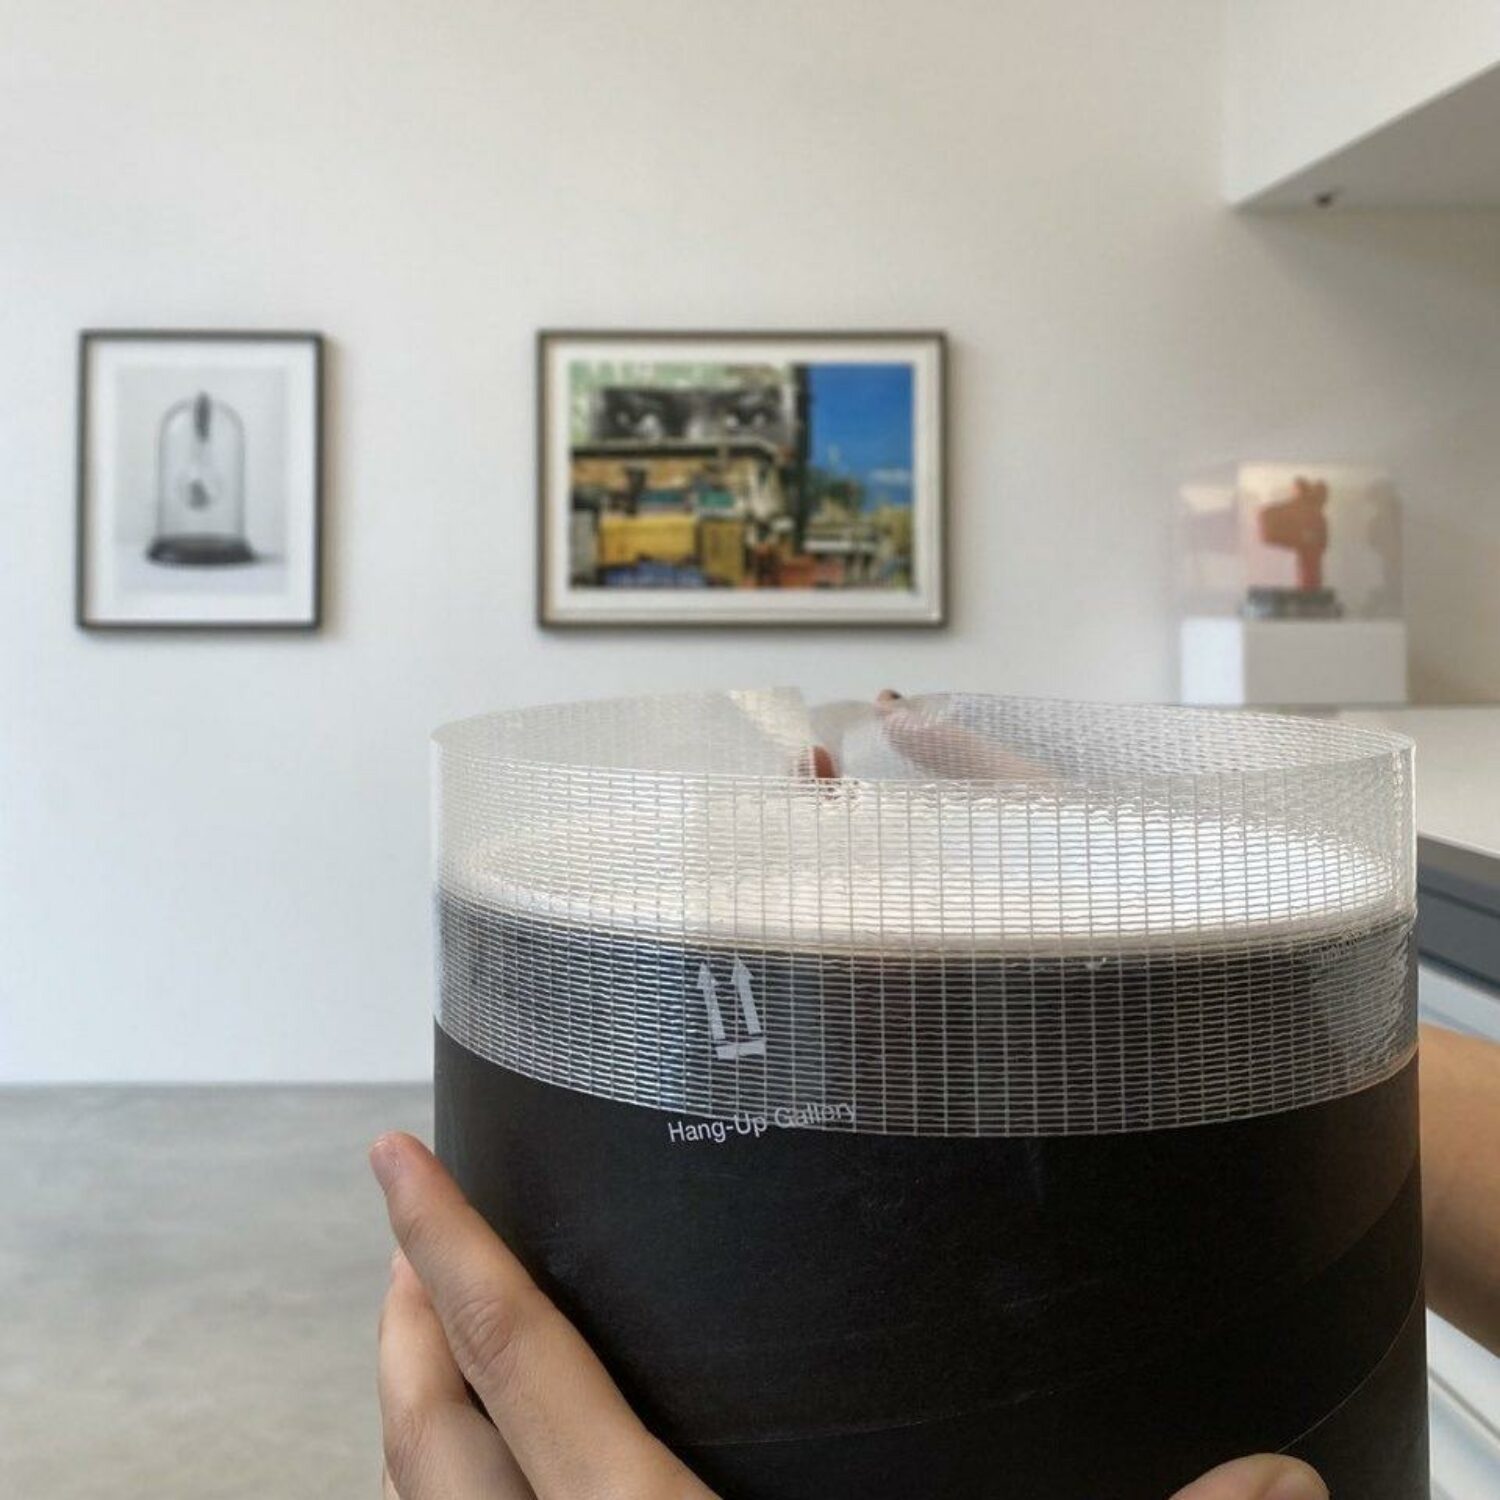
1. If your tube is double-ended, prepare to start the packing process by sealing the bottom opening with heavy-duty tape.

2. Line the bottom of your tube with tissue paper or bubble wrap to give your artwork extra cushioning to mitigate any potential damage whilst being transported.

3. Place a piece of tissue paper on your work surface that is larger than the size of the print - you can use more than one if needed.

3. Place a piece of tissue paper on your work surface that is larger than the size of the print - you can use more than one if needed.

4. Feel the print by lightly bending it upwards in order to see which way the paper eases more to roll it the right way.

5. Start by folding in the top and bottom of the tissue paper over the top and bottom of your print, leaving the sides unfolded.

5. Start by folding in the top and bottom of the tissue paper over the top and bottom of your print, leaving the sides unfolded.

6. Now you can start rolling your print up, making sure to roll in the direction of the grain.

6. Now you can start rolling your print up, making sure to roll in the direction of the grain.

As a general rule, you want the radius of the rolled print to match the radius of your tube as any space between the print and the inside wall of the tube, can cause potential damage to your artwork as it is in transit.

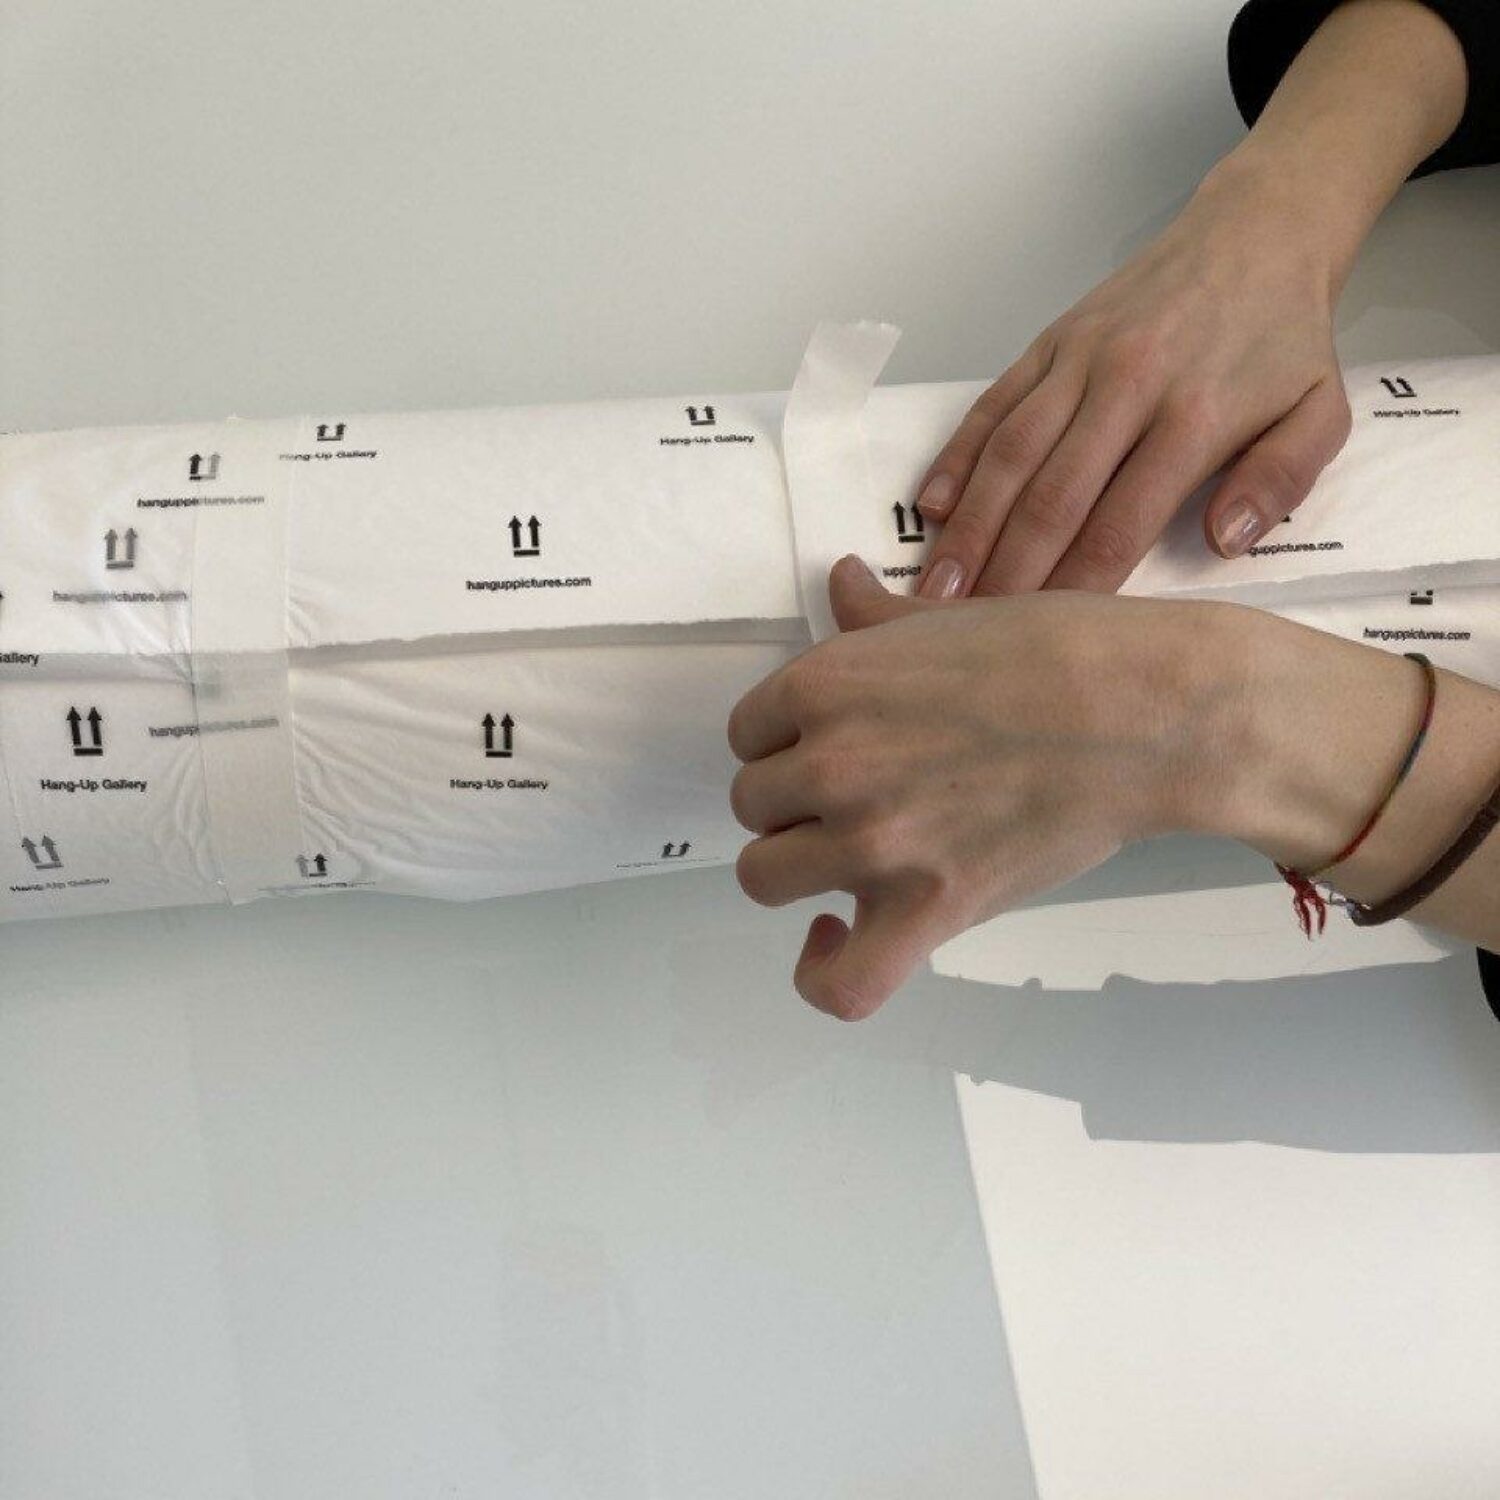
Whilst rolling your print, make sure that the edges of your print are in line - so when the artwork is rolled there are no sides poking out as these parts of the print could get damaged during transportation.

Note: Generally, you want to only keep your print rolled for a short period of time.

7. Once your print is rolled, tape the rolled edge with enough masking tape to ensure it doesn’t come undone.

7. Once your print is rolled, tape the rolled edge with enough masking tape to ensure it doesn’t come undone.

8. Now tuck in the sides of the tissue paper into your print, starting with the inner most piece and working your way outwards.

8. Now tuck in the sides of the tissue paper into your print, starting with the inner most piece and working your way outwards.

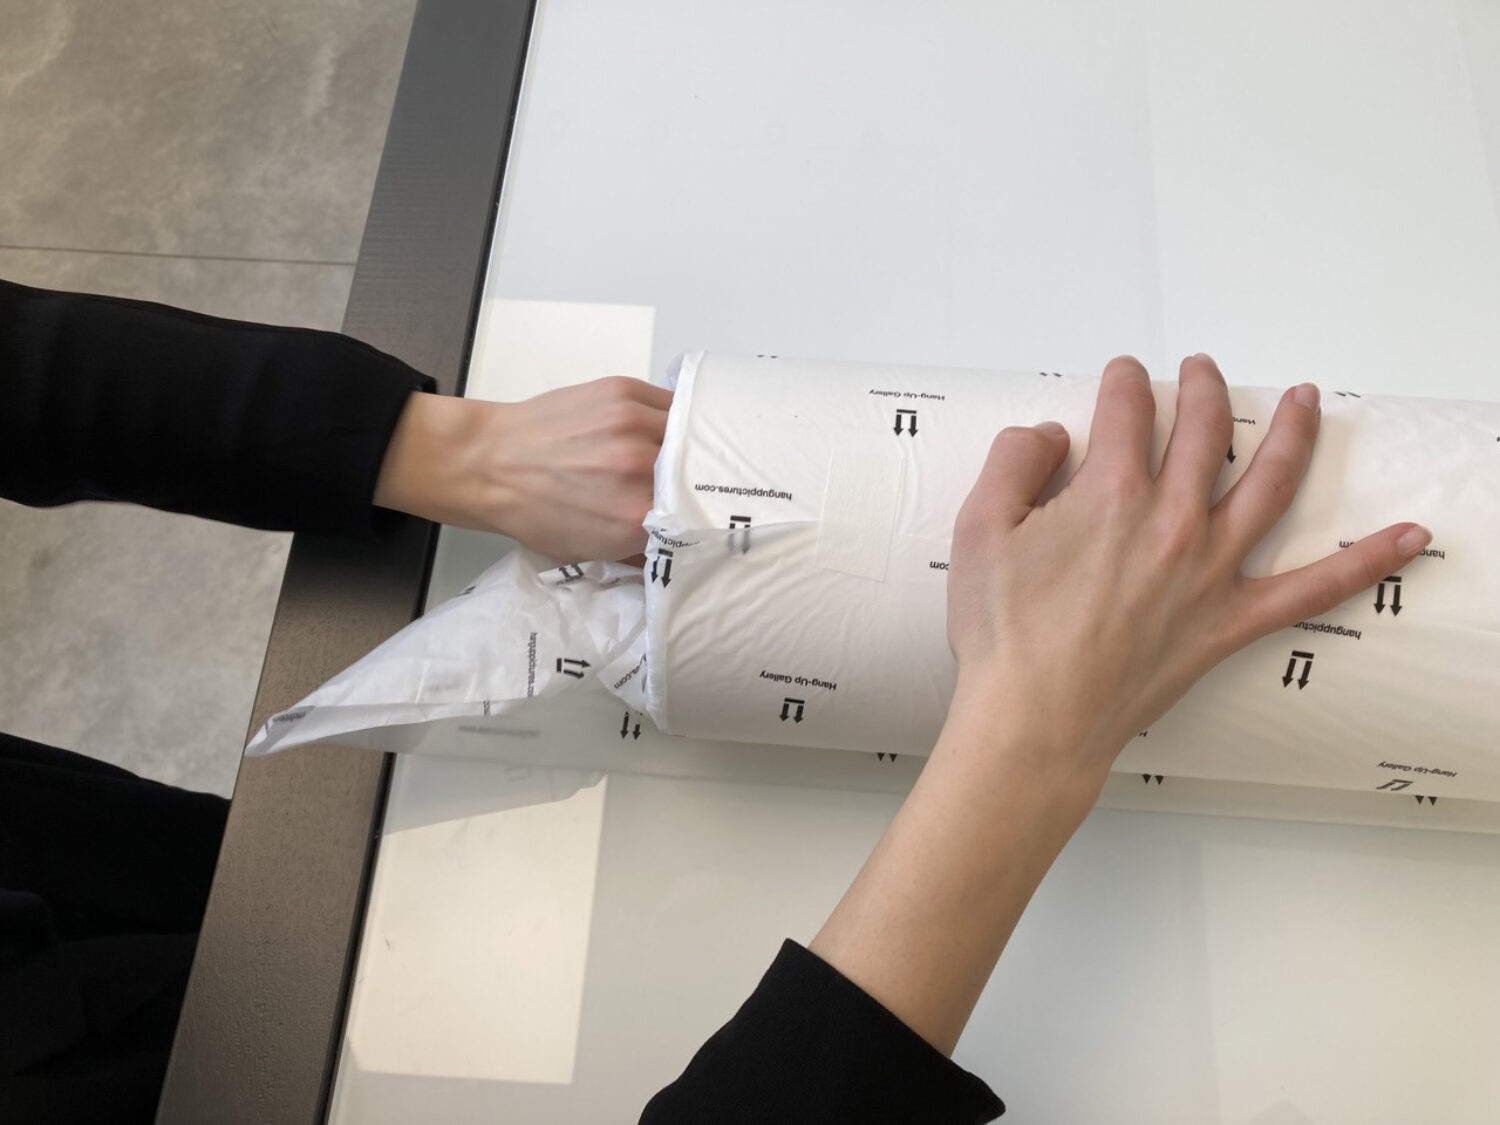
9. Place your rolled print inside of the tube - making sure that there is little to no space between the print and the inner wall of the tube, this is to make sure that there’s no movement inside of the tube.

10. Put another piece of tissue paper or bubble wrap on top of your print inside the tube and seal the top of your tube with heavy duty tape.

10. Put another piece of tissue paper or bubble wrap on top of your print inside the tube and seal the top of your tube with heavy duty tape.

And there you go, job done!

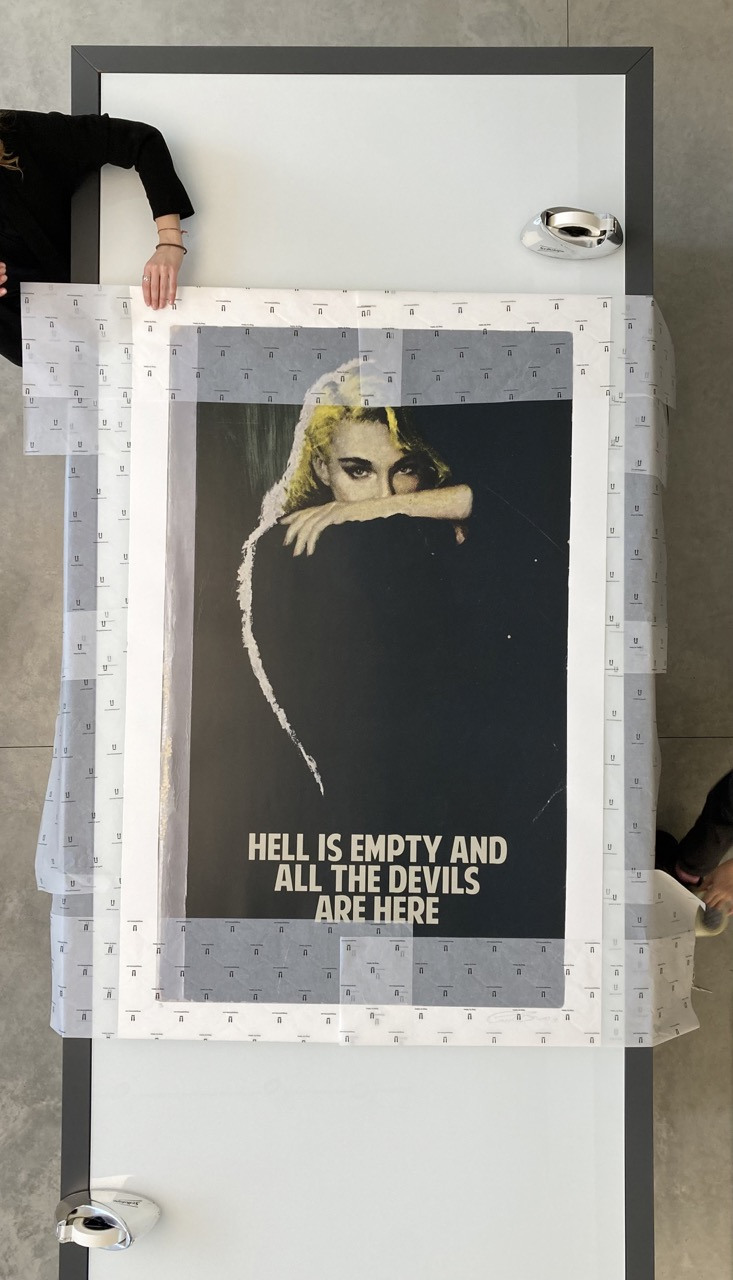
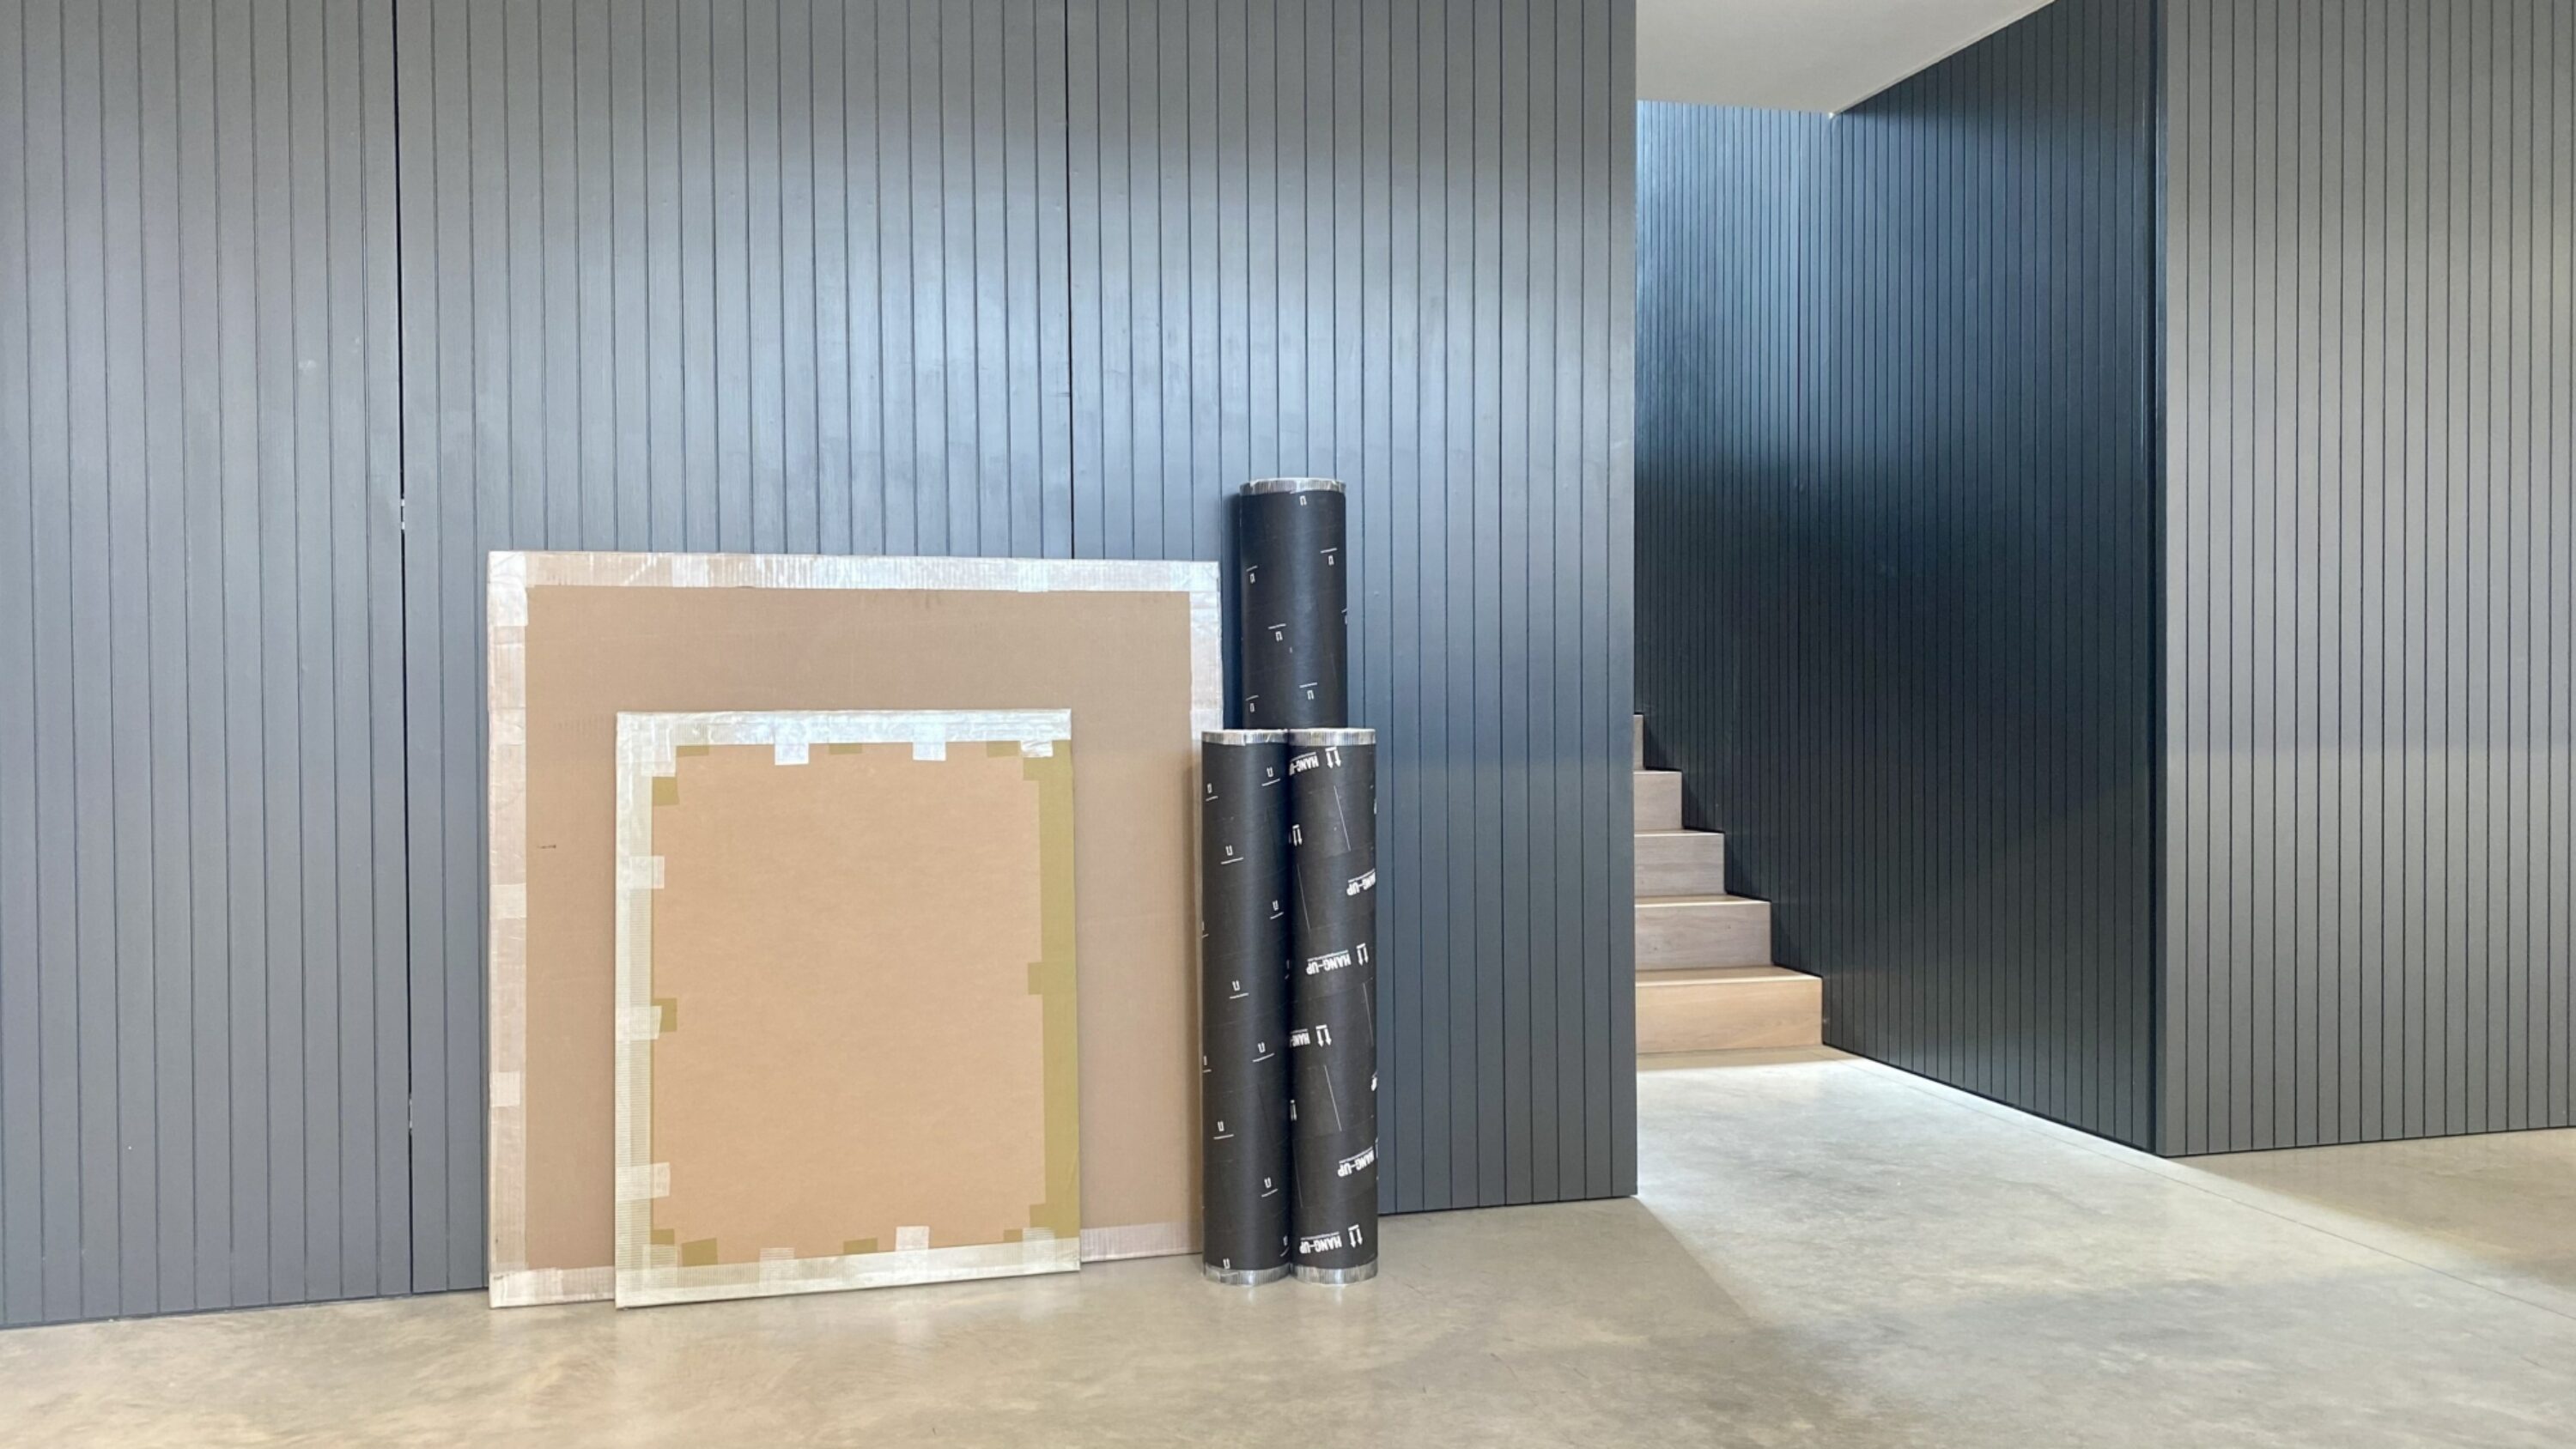
Packing artwork flat

When packing high end prints and originals, you should consider packing your artwork flat. The flat pack needs to be made from impenetrable, strong cardboard, ideally triwall, quadwall or MDF, to ensure the print will be secure during transport. As a general rule of thumb, cardboard flat packs are sufficient for domestic travel, with MDF flat packs being preferred for international travel as they are far sturdier.

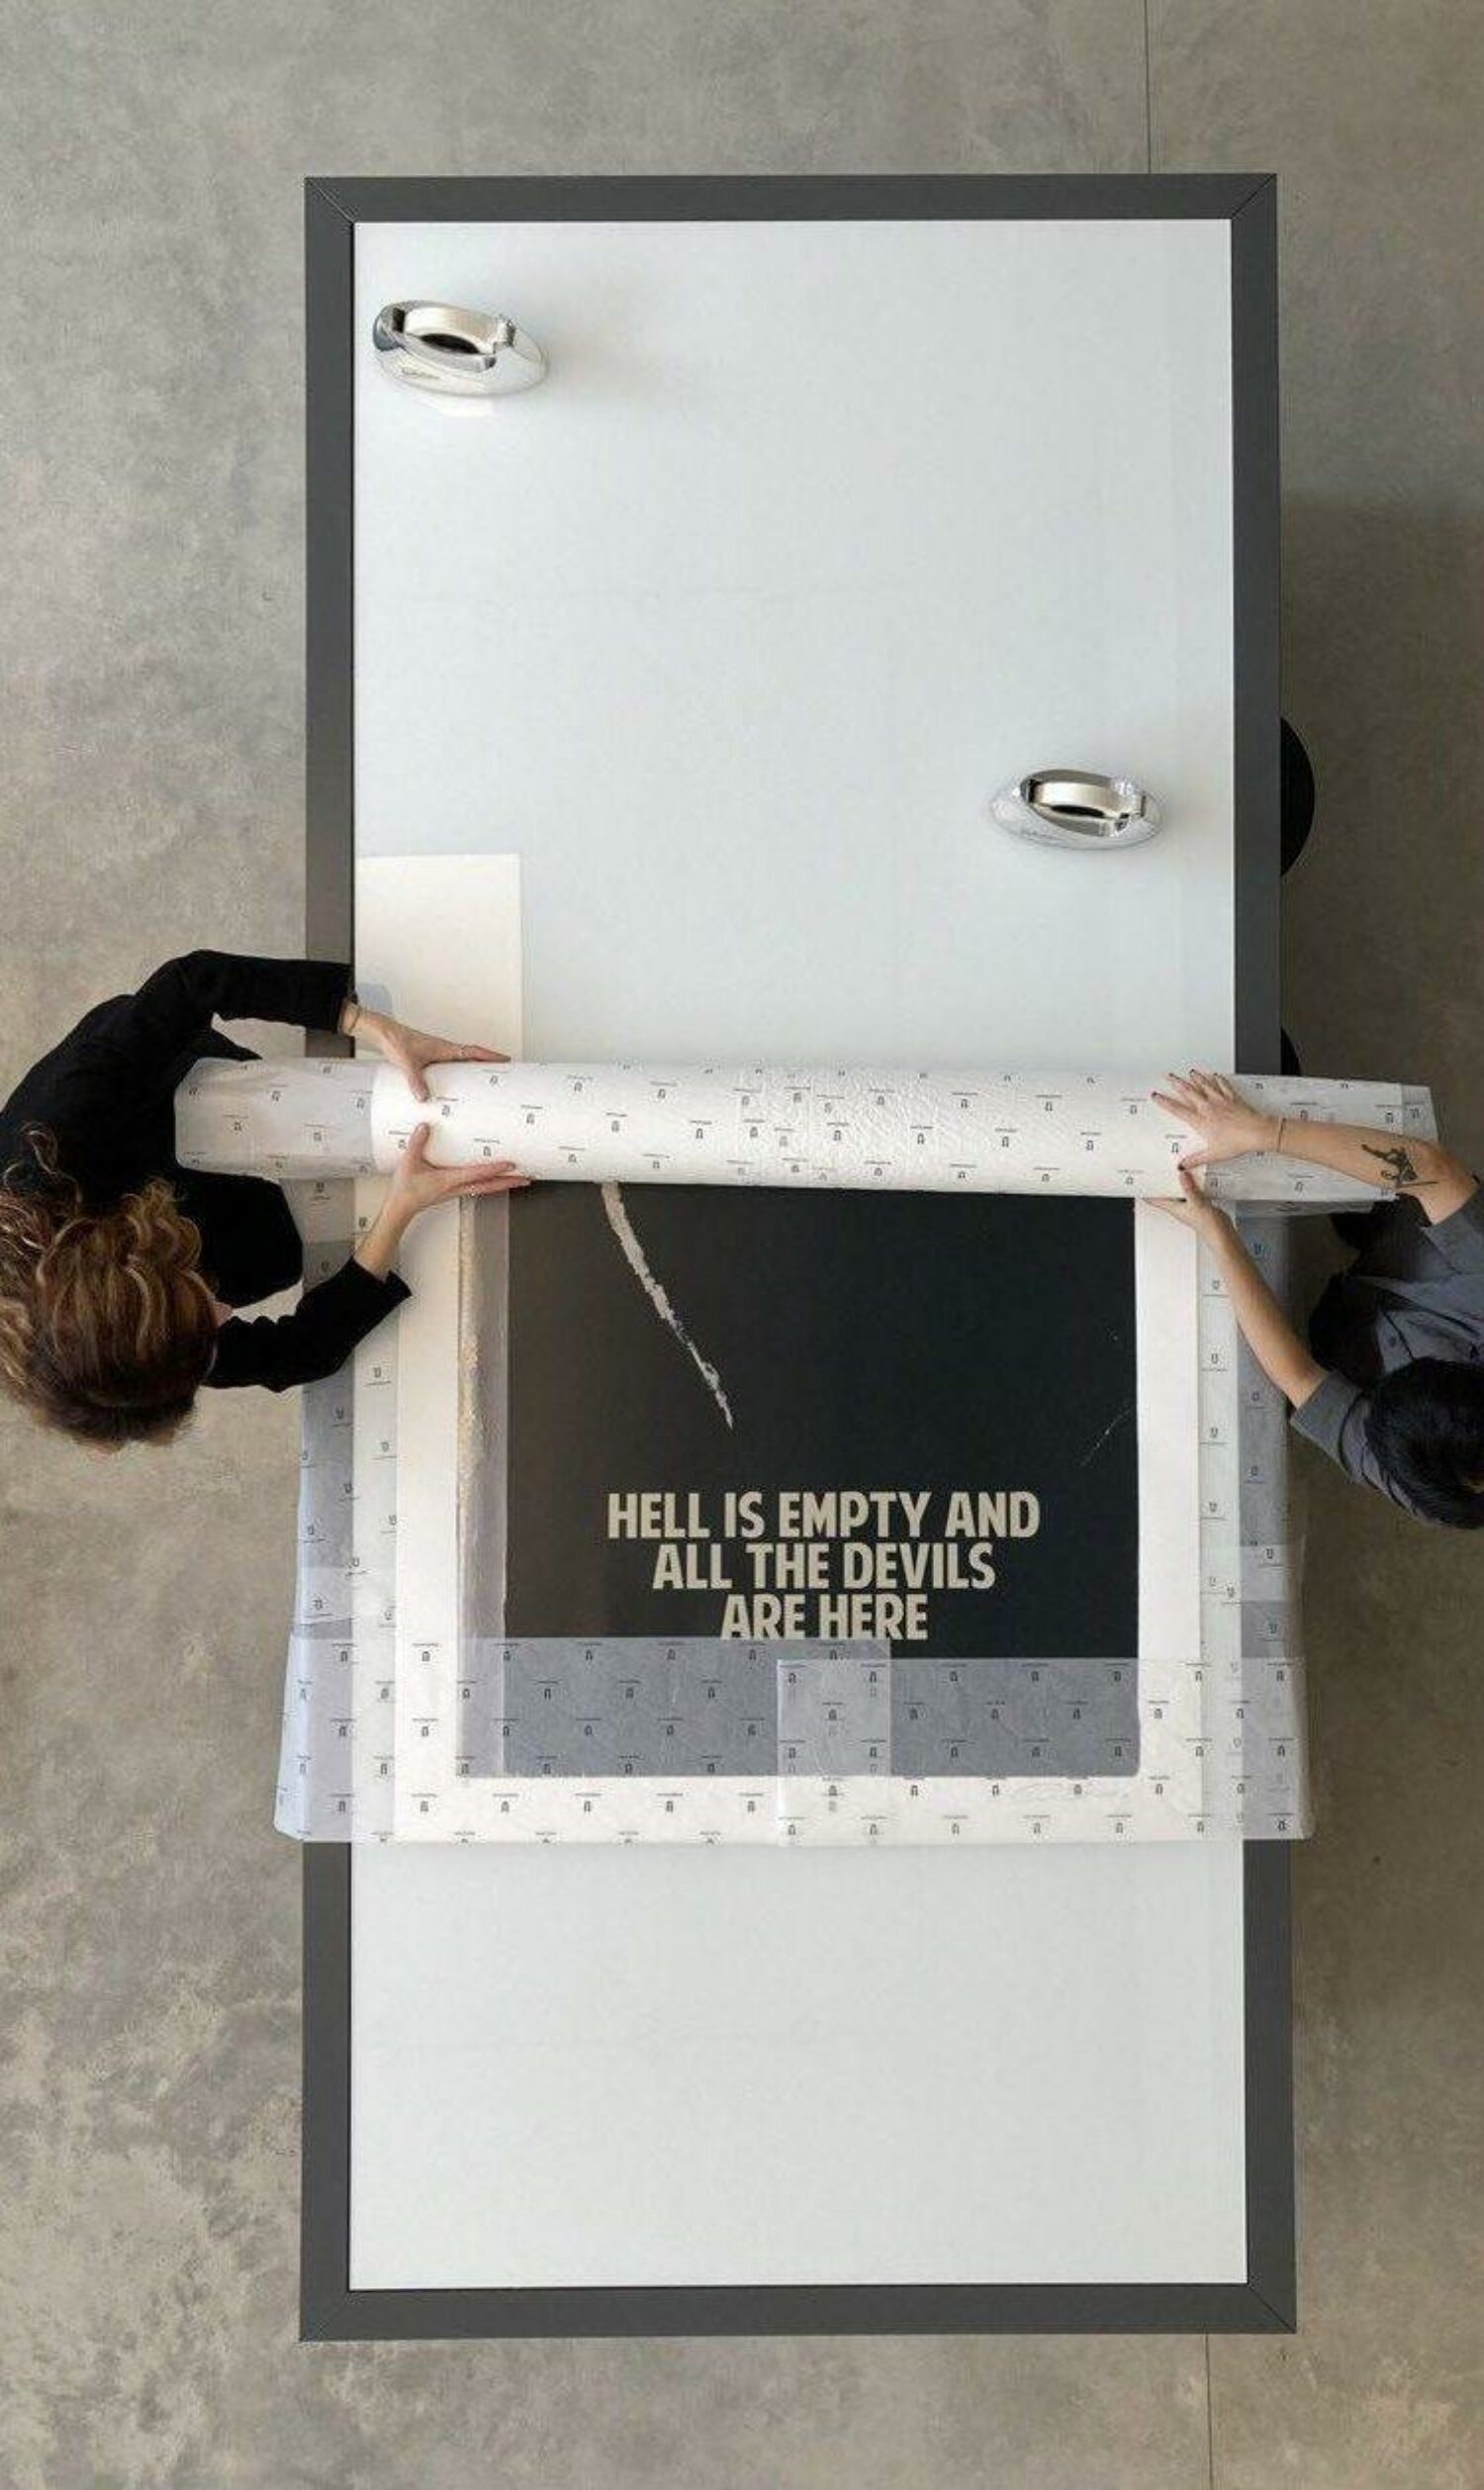
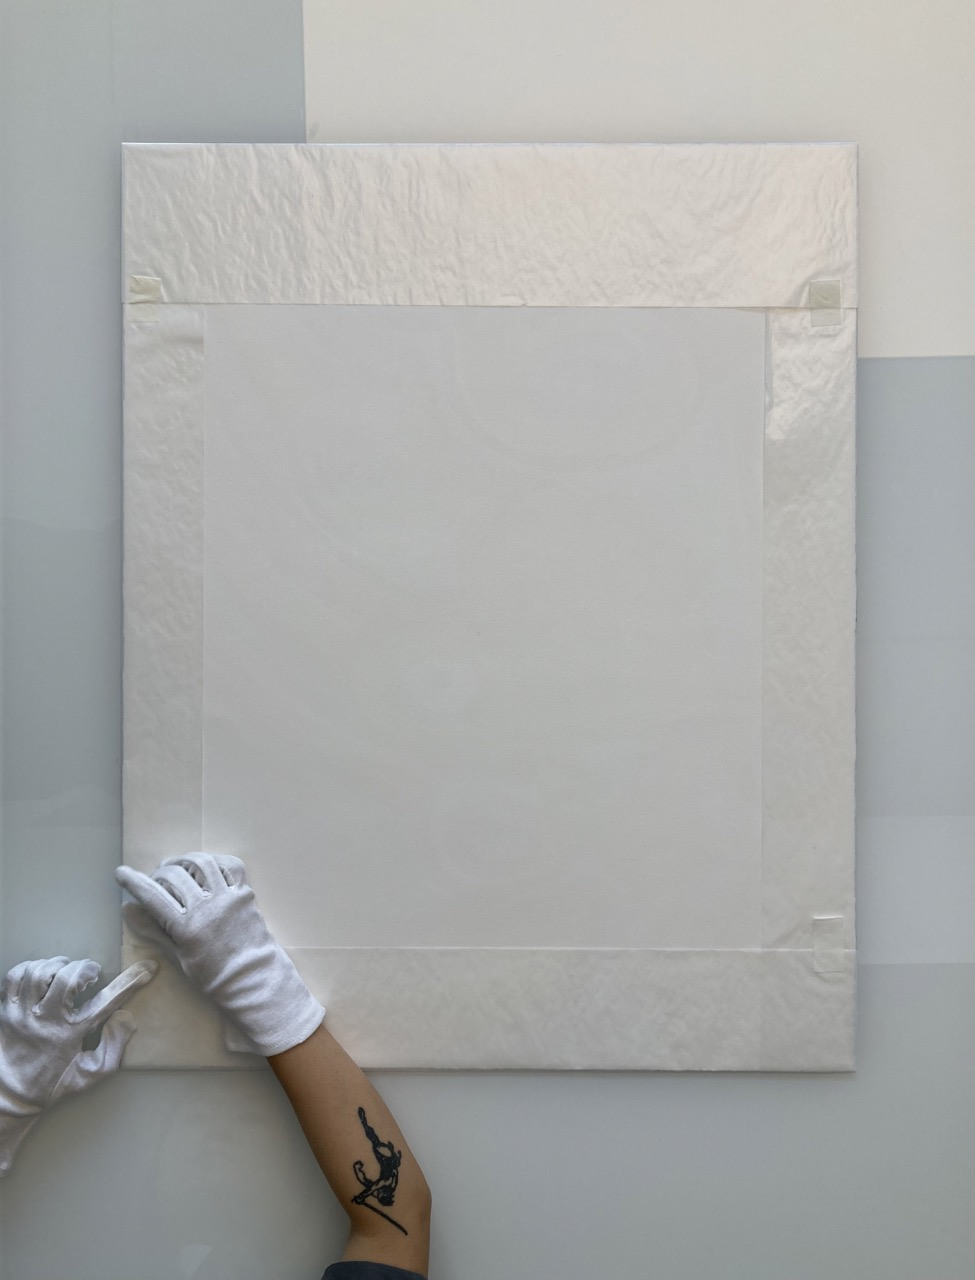
Glassine paper is a special type of paper that is air, water, and grease resistant - perfect for wrapping and protecting prints for transport.

What to keep in mind

  • Choose the right size triwall for print size.

  • Different sizes mean different methods of securing the artwork so it won’t slip.

Step-by-step guide

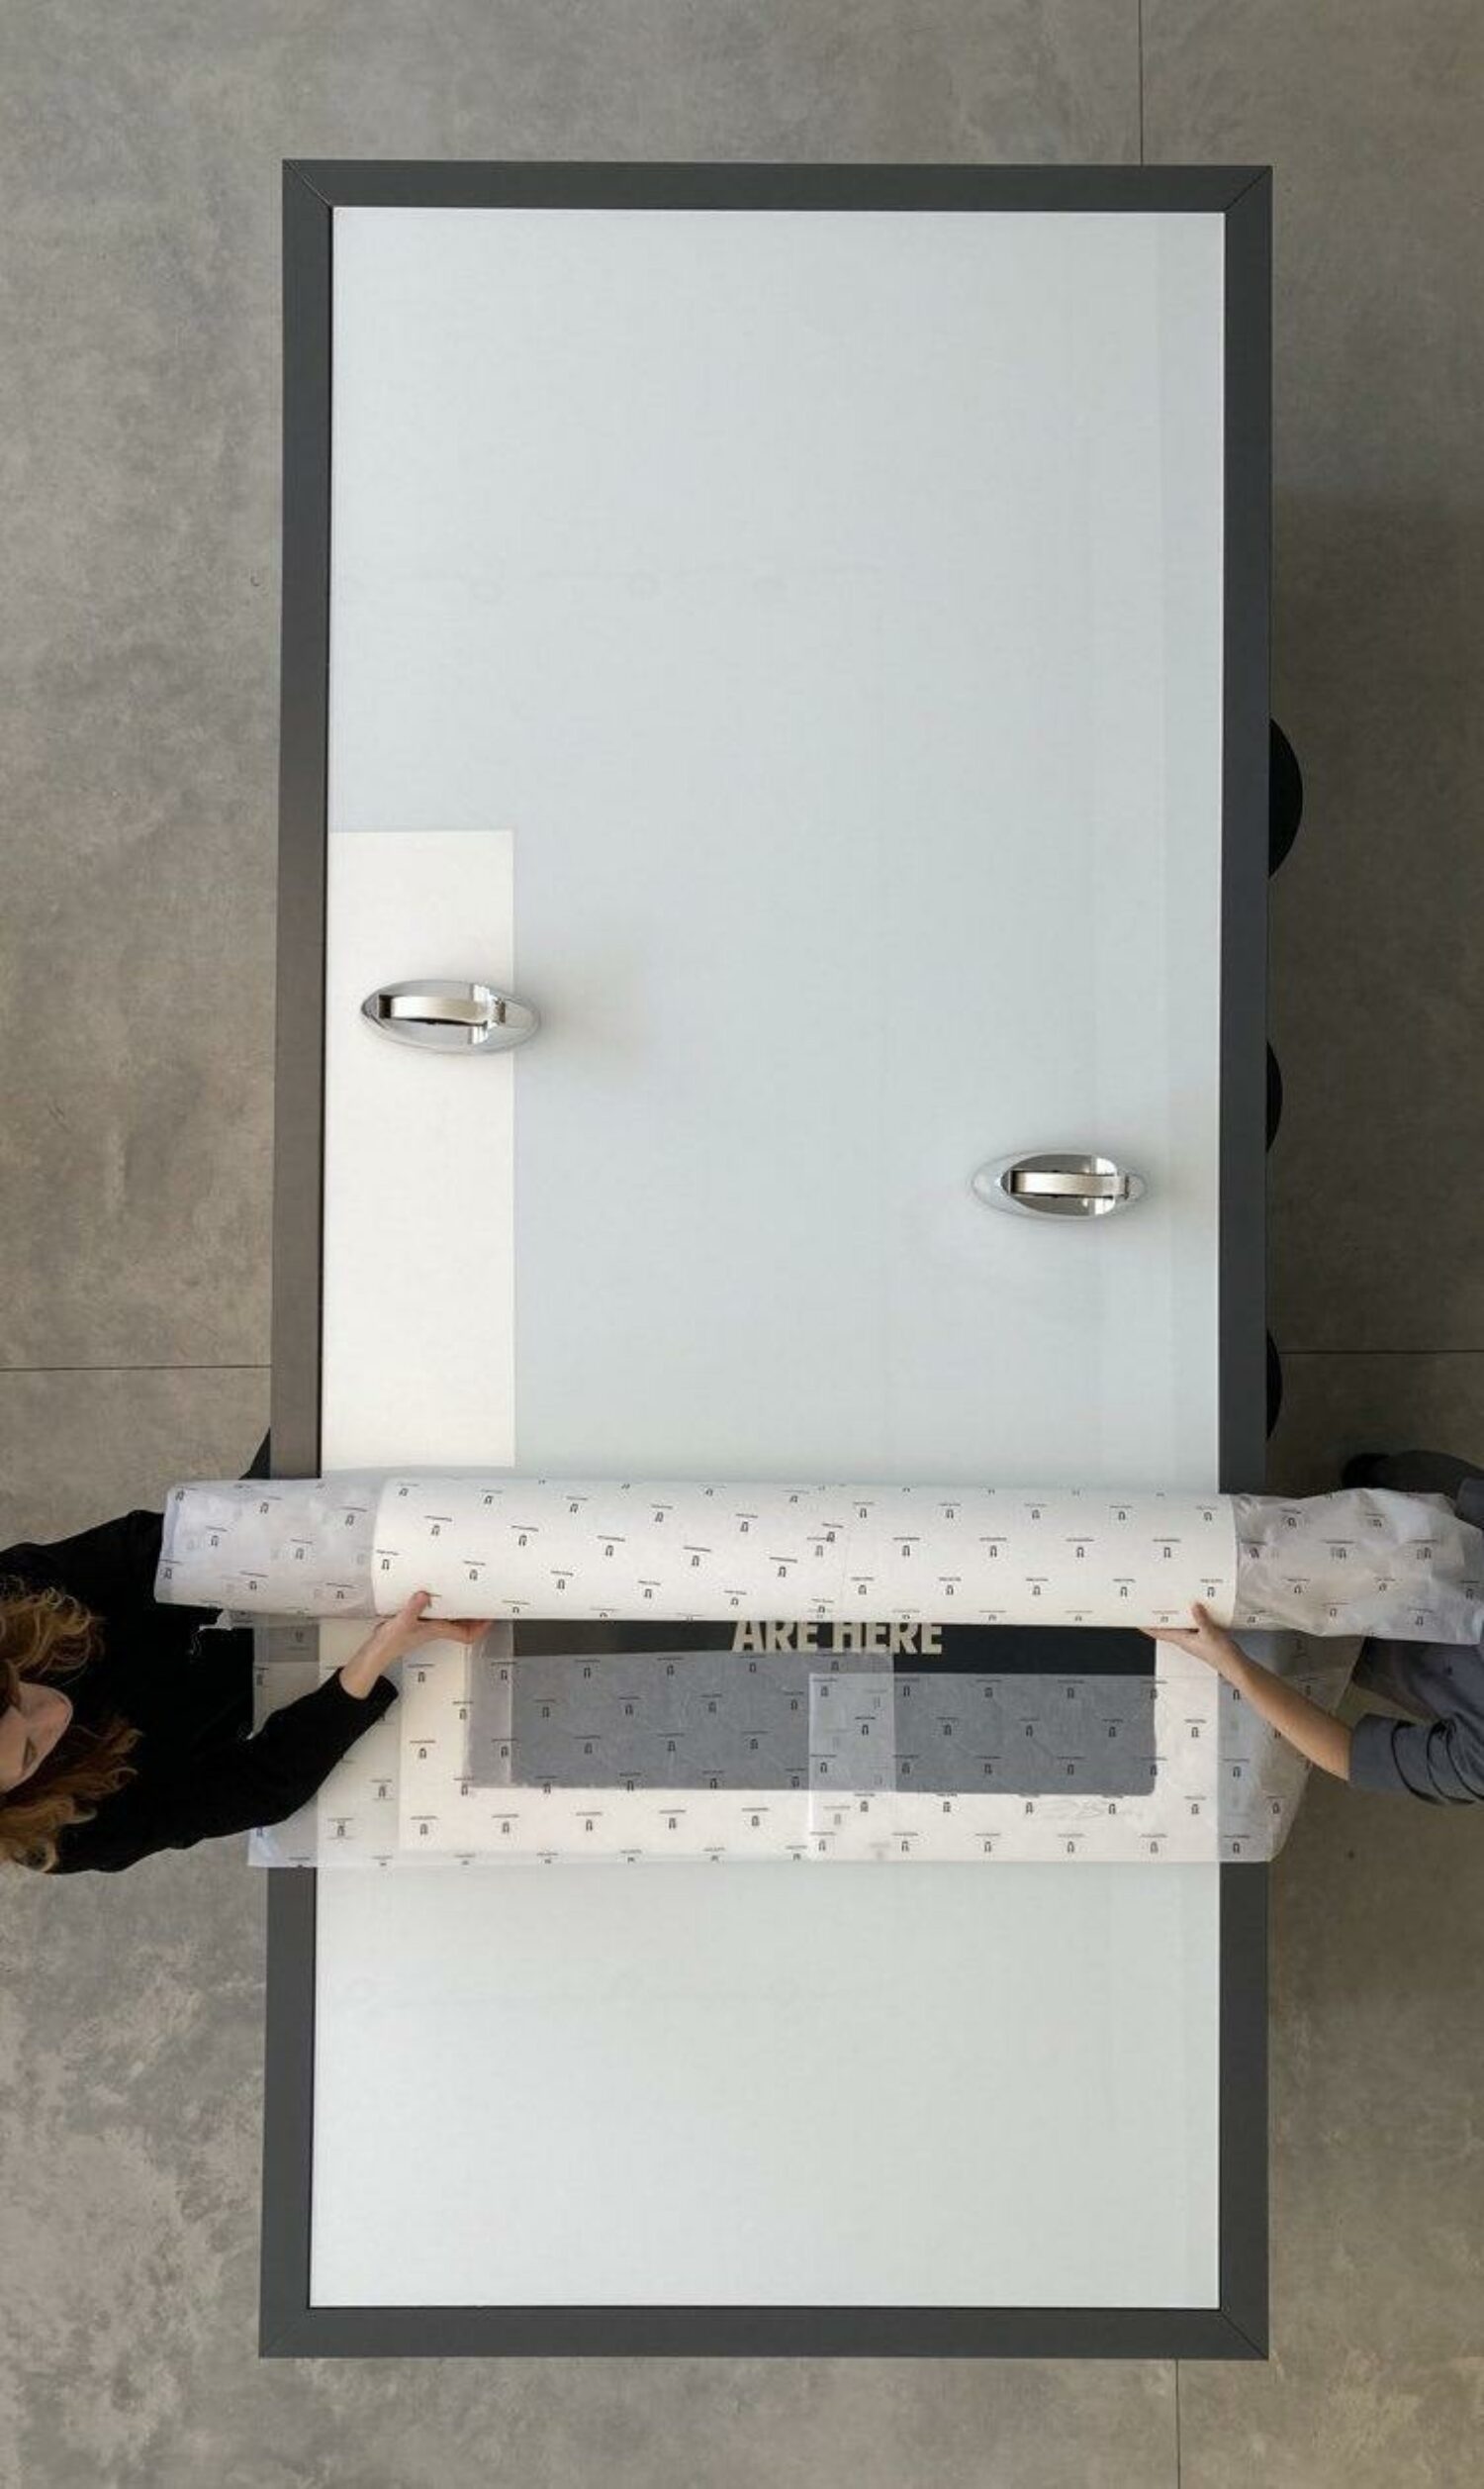
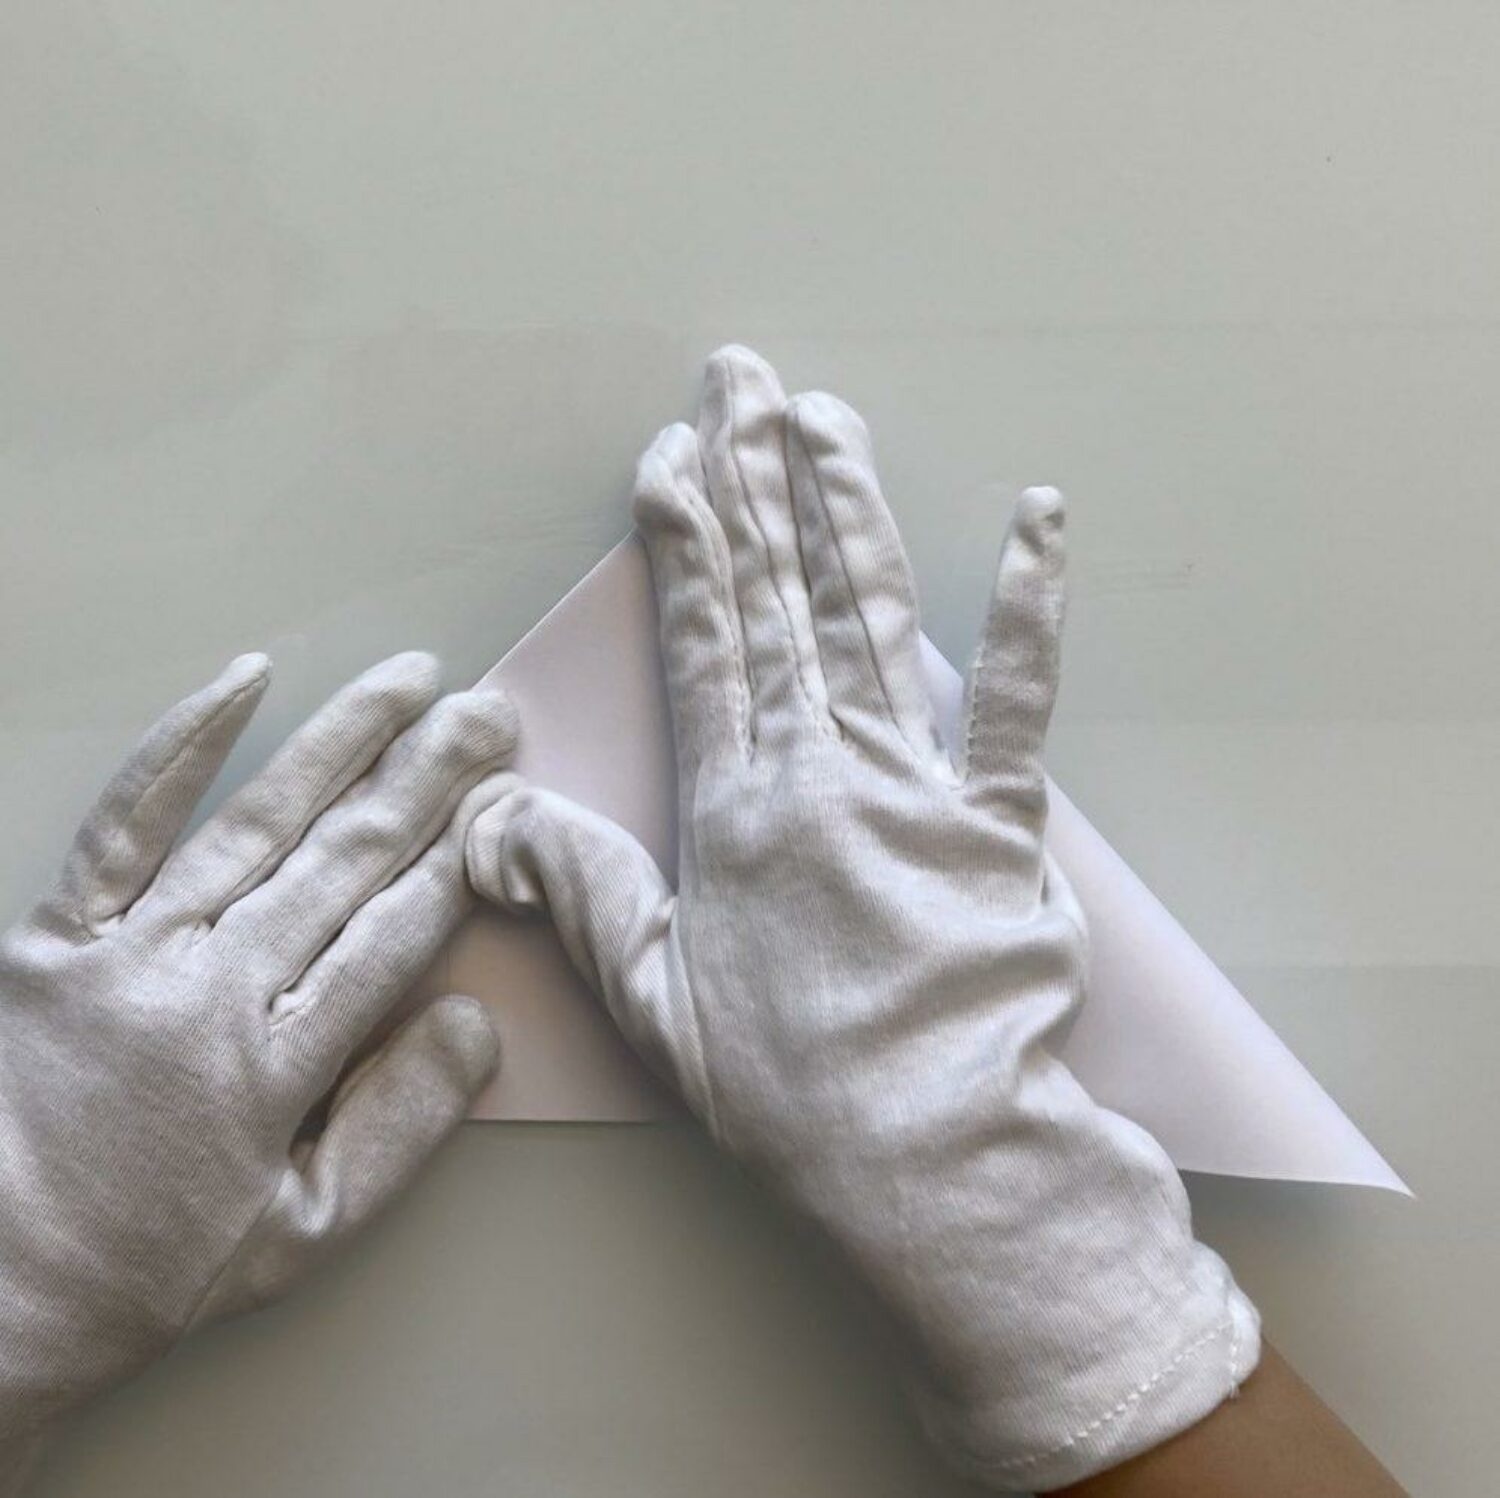
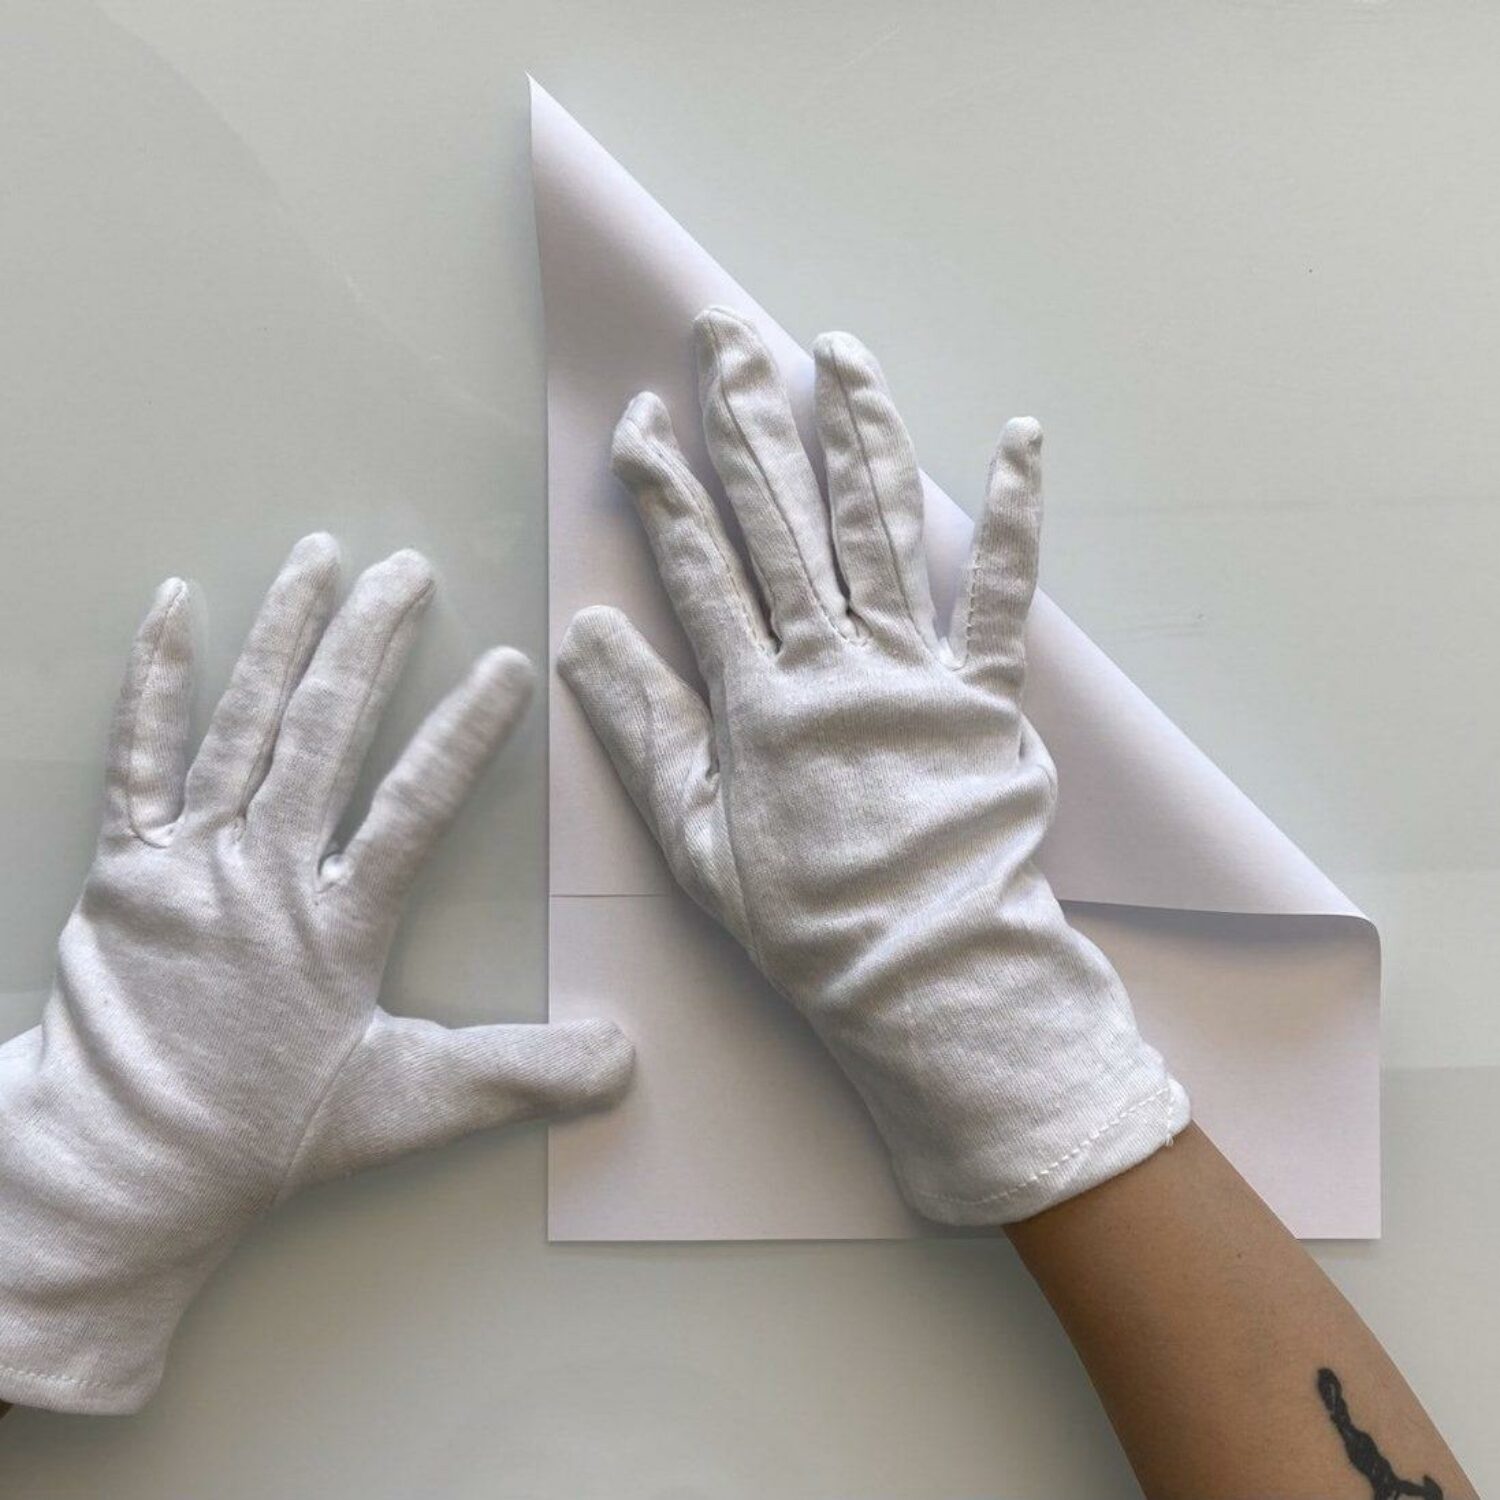
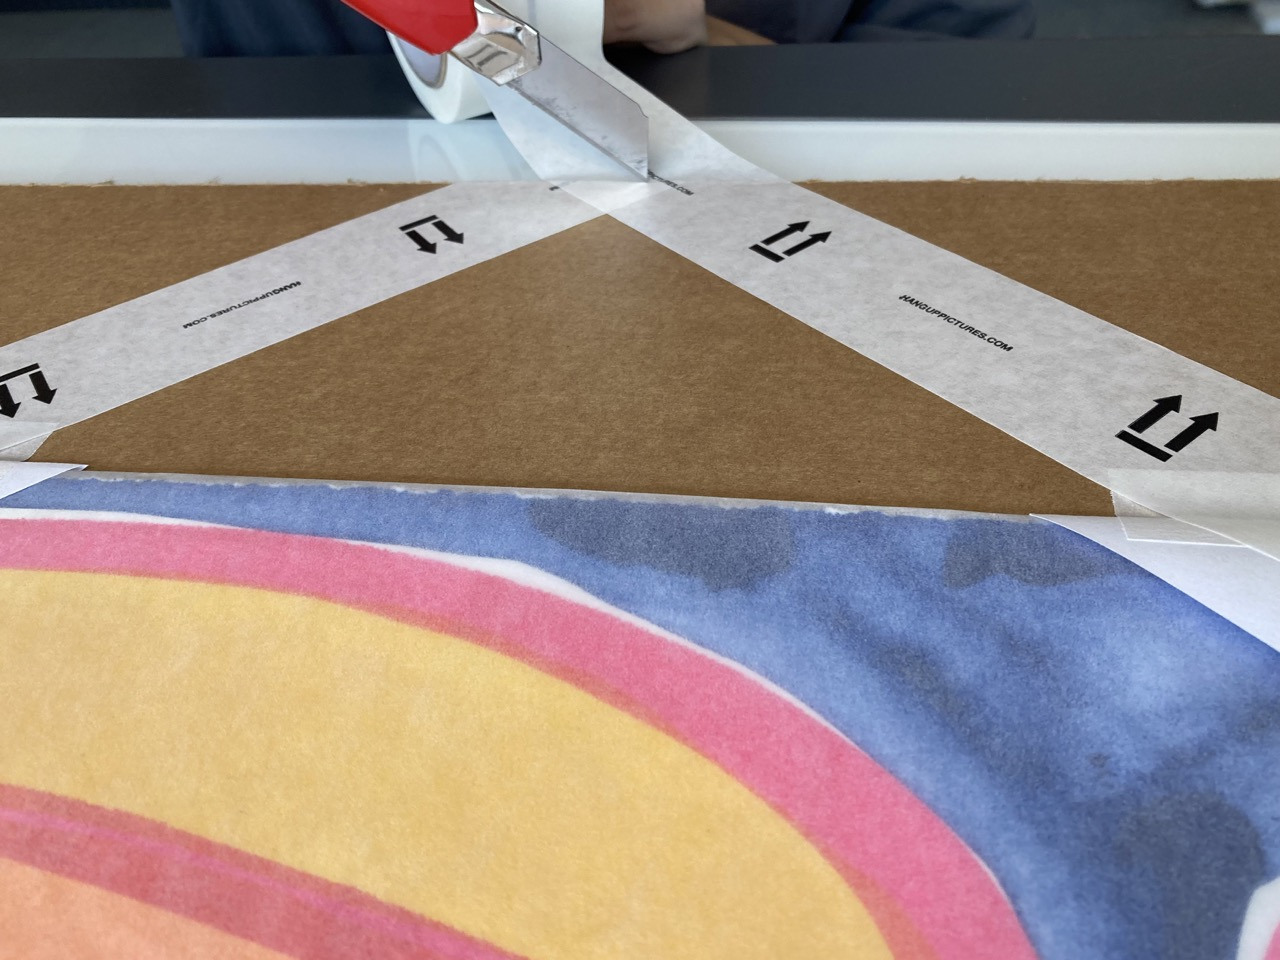
1. Cut yourself a piece of Glassine paper double the size of your print to make sure the print will be completely wrapped up in it. Fold the paper over the print, making sure to fold in the sides and secure with masking tape so that the entire print is covered.

If you don't have access to Glassine paper you can use acid-free tissue paper.

If you don't have access to Glassine paper you can use acid-free tissue paper.

2. Choose a flat pack (again this can be cardboard, triwall, quadwall or MDF depending on where your artwork is going) that leaves a 5 to 10 cm border once the print is placed in the middle.

2. Choose a flat pack (again this can be cardboard, triwall, quadwall or MDF depending on where your artwork is going) that leaves a 5 to 10 cm border once the print is placed in the middle.

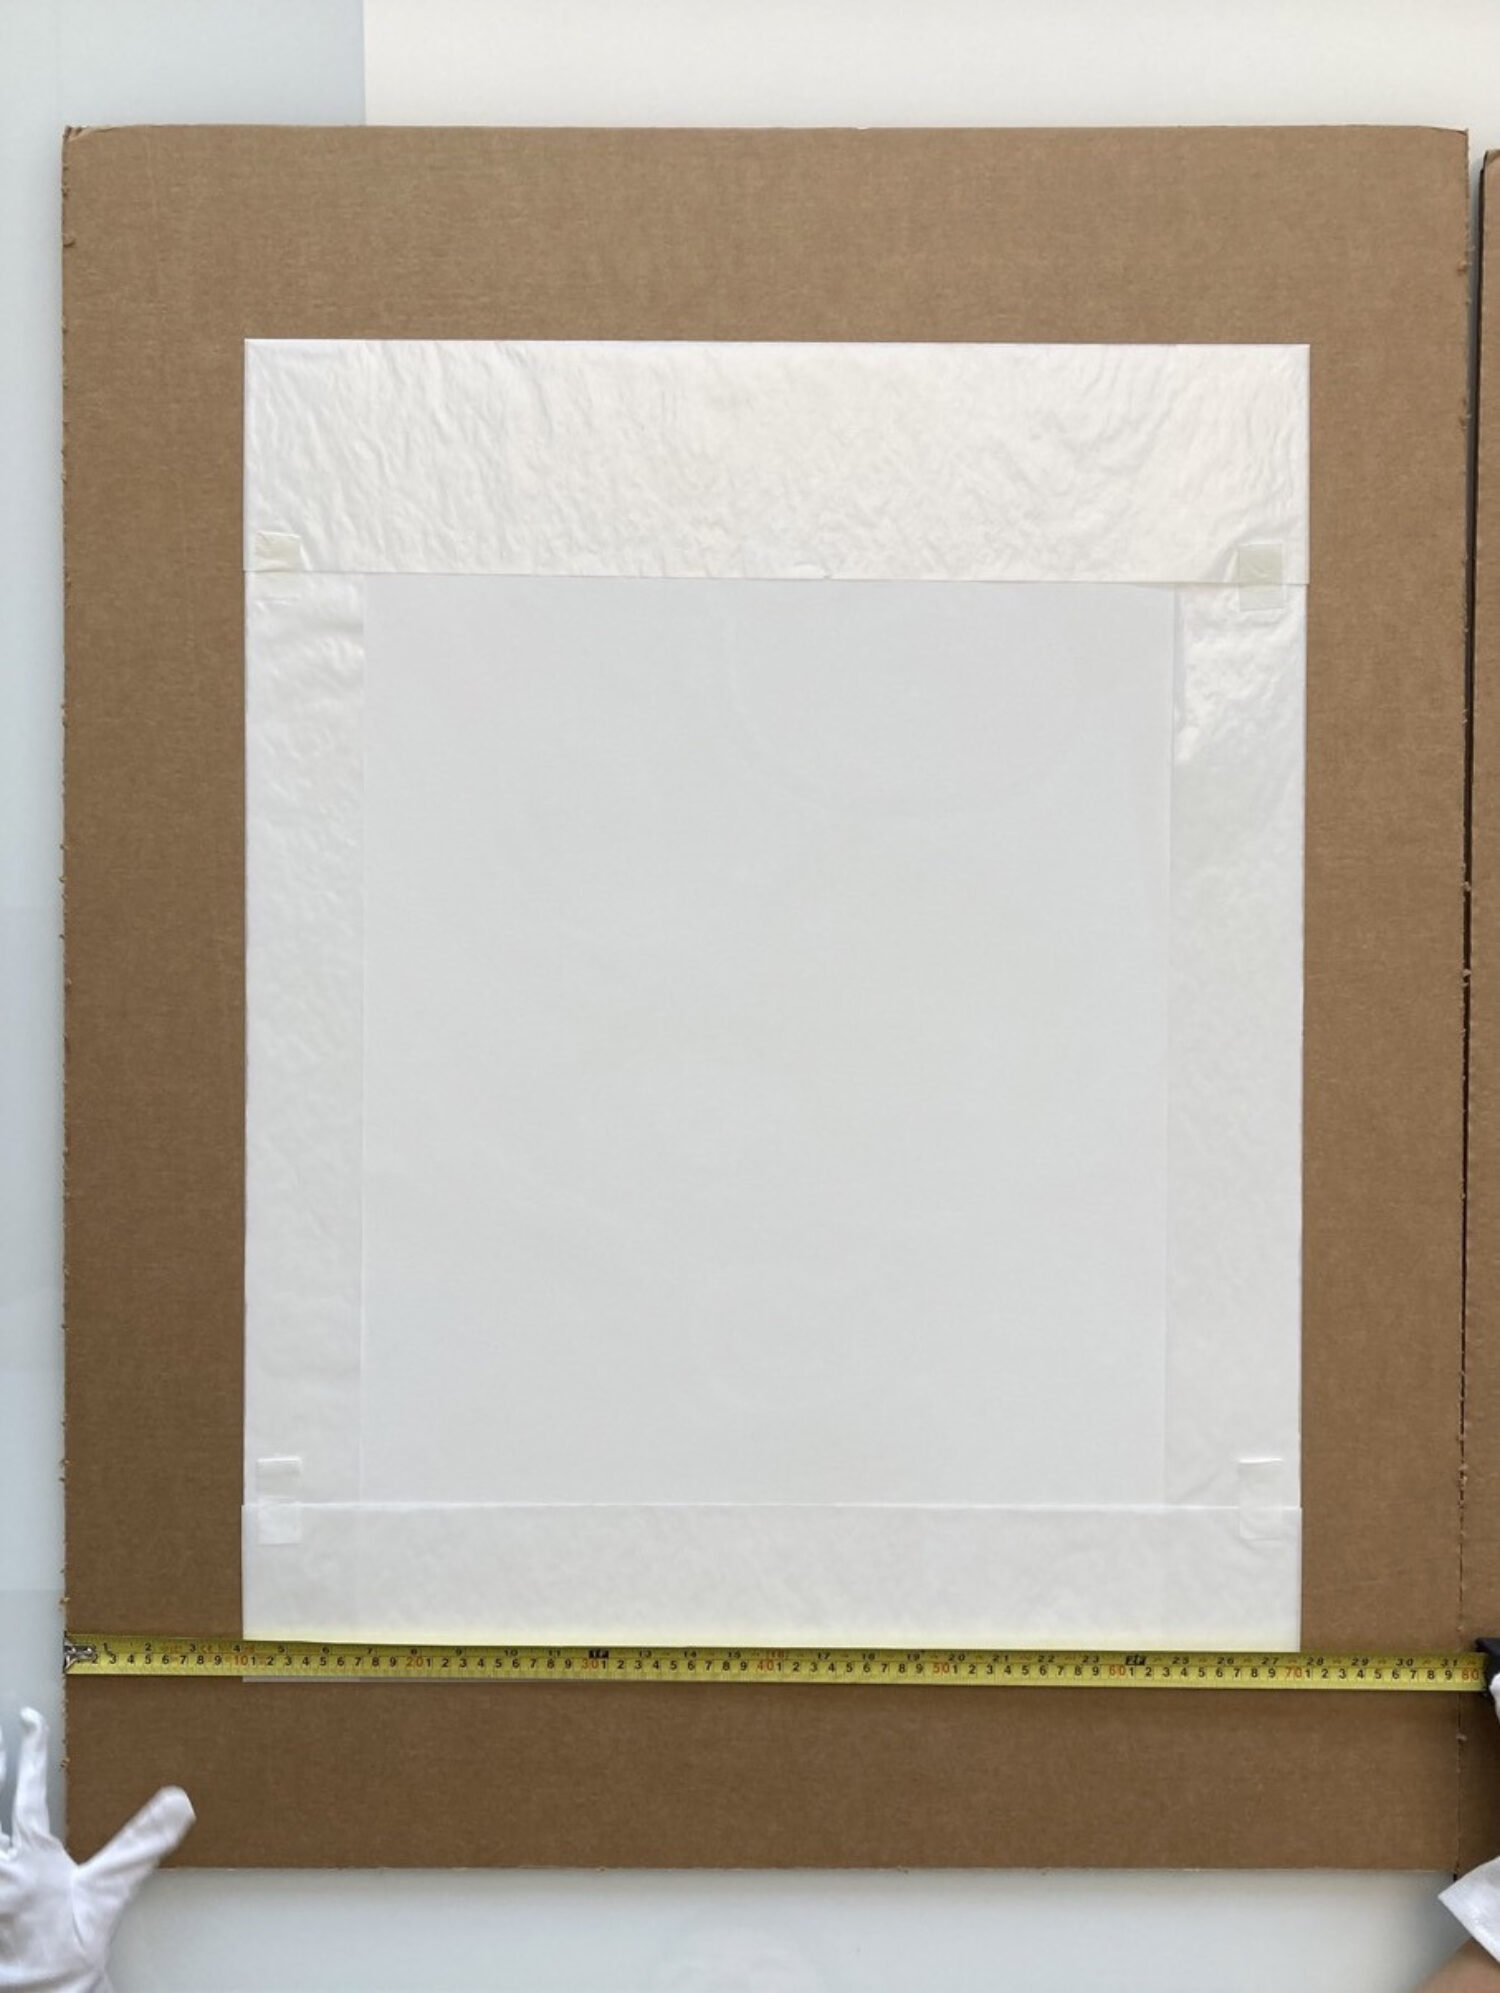
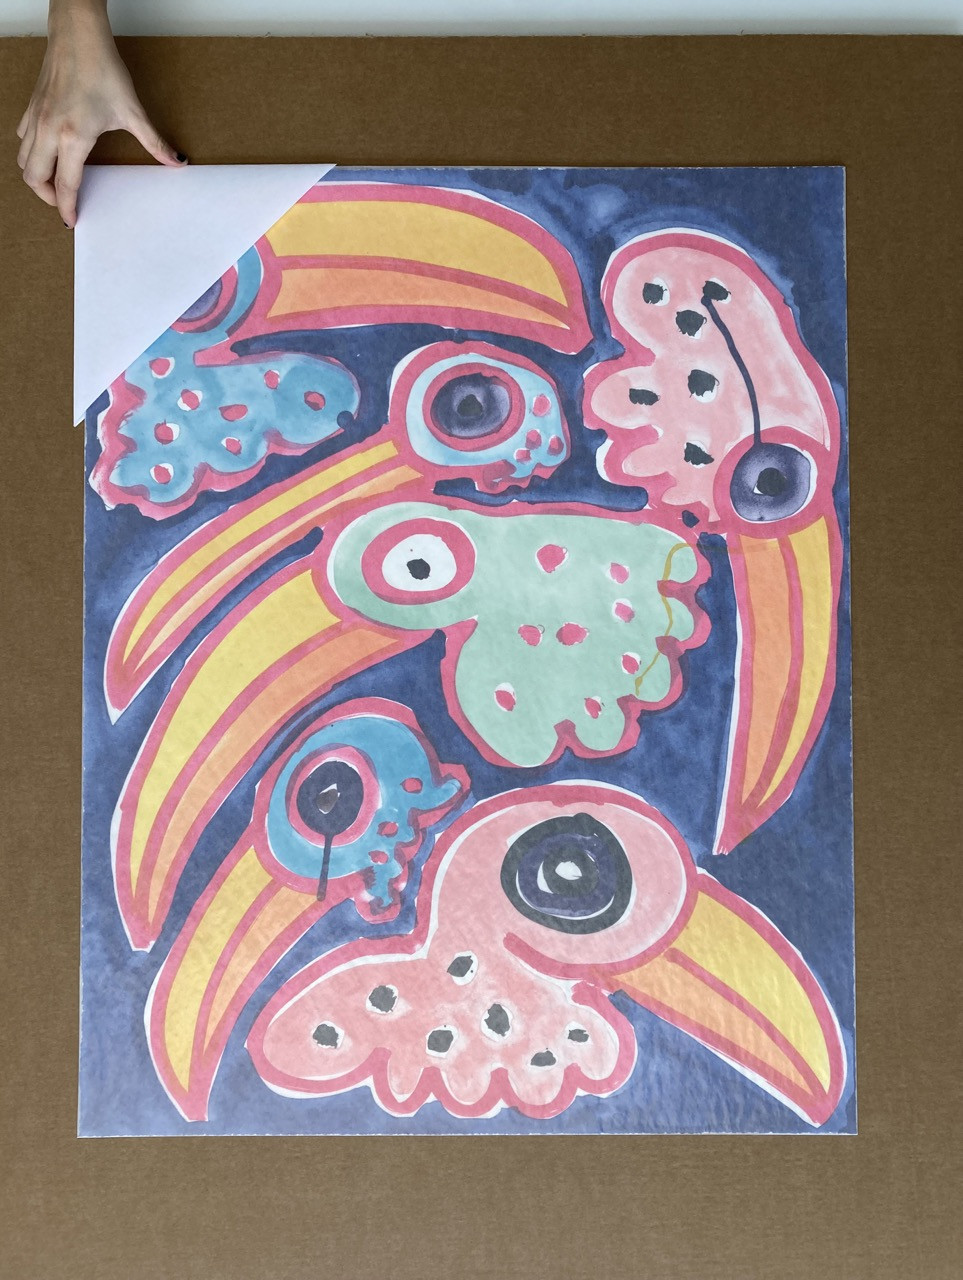
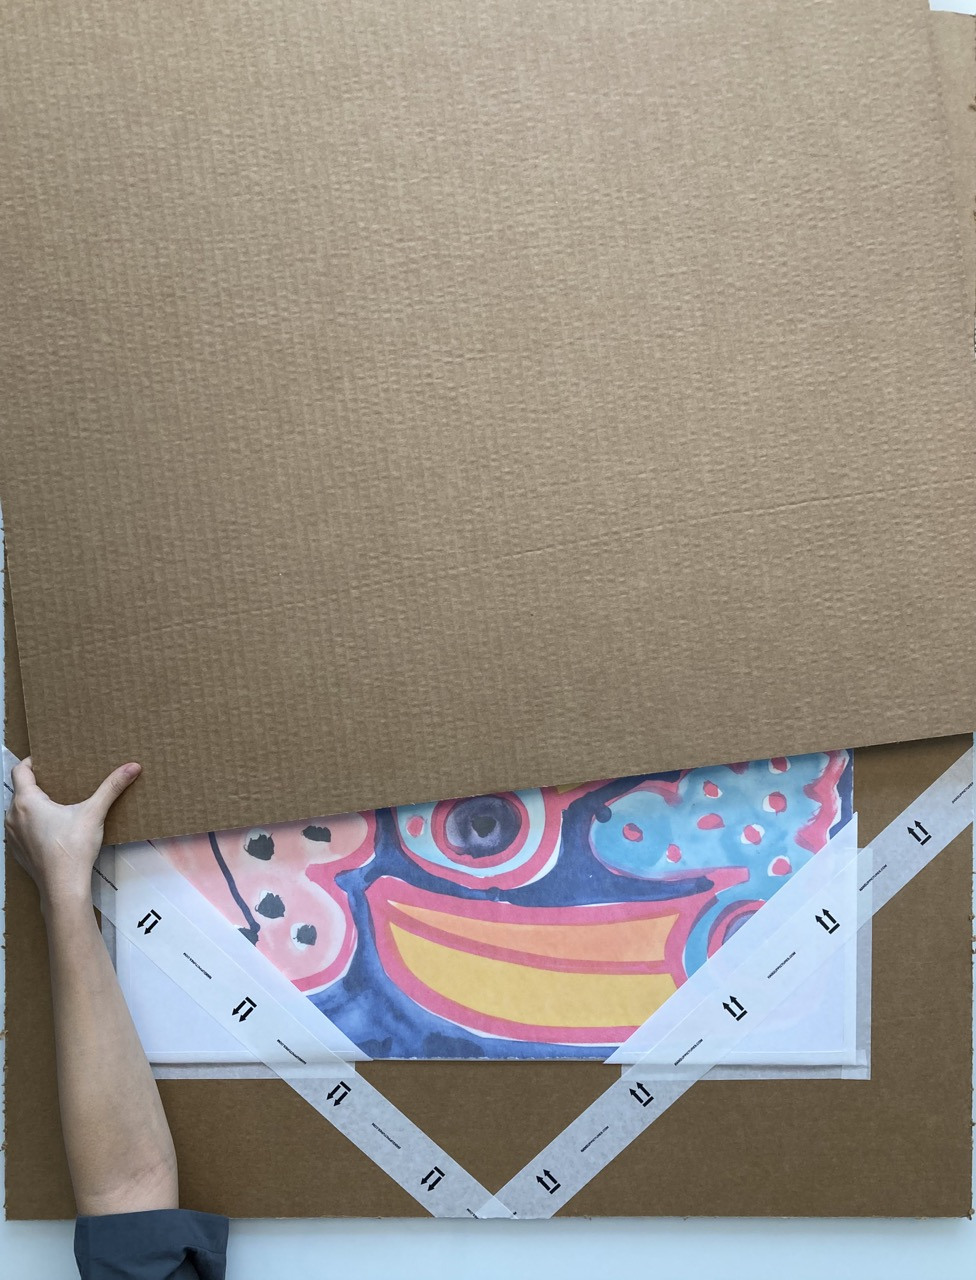
3. You will notice that one side of your cardboard is smoother than the other, which will have faint ridged lines that can emboss upon your artwork. Make sure the smooth sides are facing inwards onto your print with the ridged side facing outwards.

4. Fold corner protection pouches from A4 paper.

4. Fold corner protection pouches from A4 paper.

5. Add a protective pouch on each corner of the print.

5. Add a protective pouch on each corner of the print.

6. Secure the corners by taping down across diagonally and then along the edges using masking tape.

6. Secure the corners by taping down across diagonally and then along the edges using masking tape.

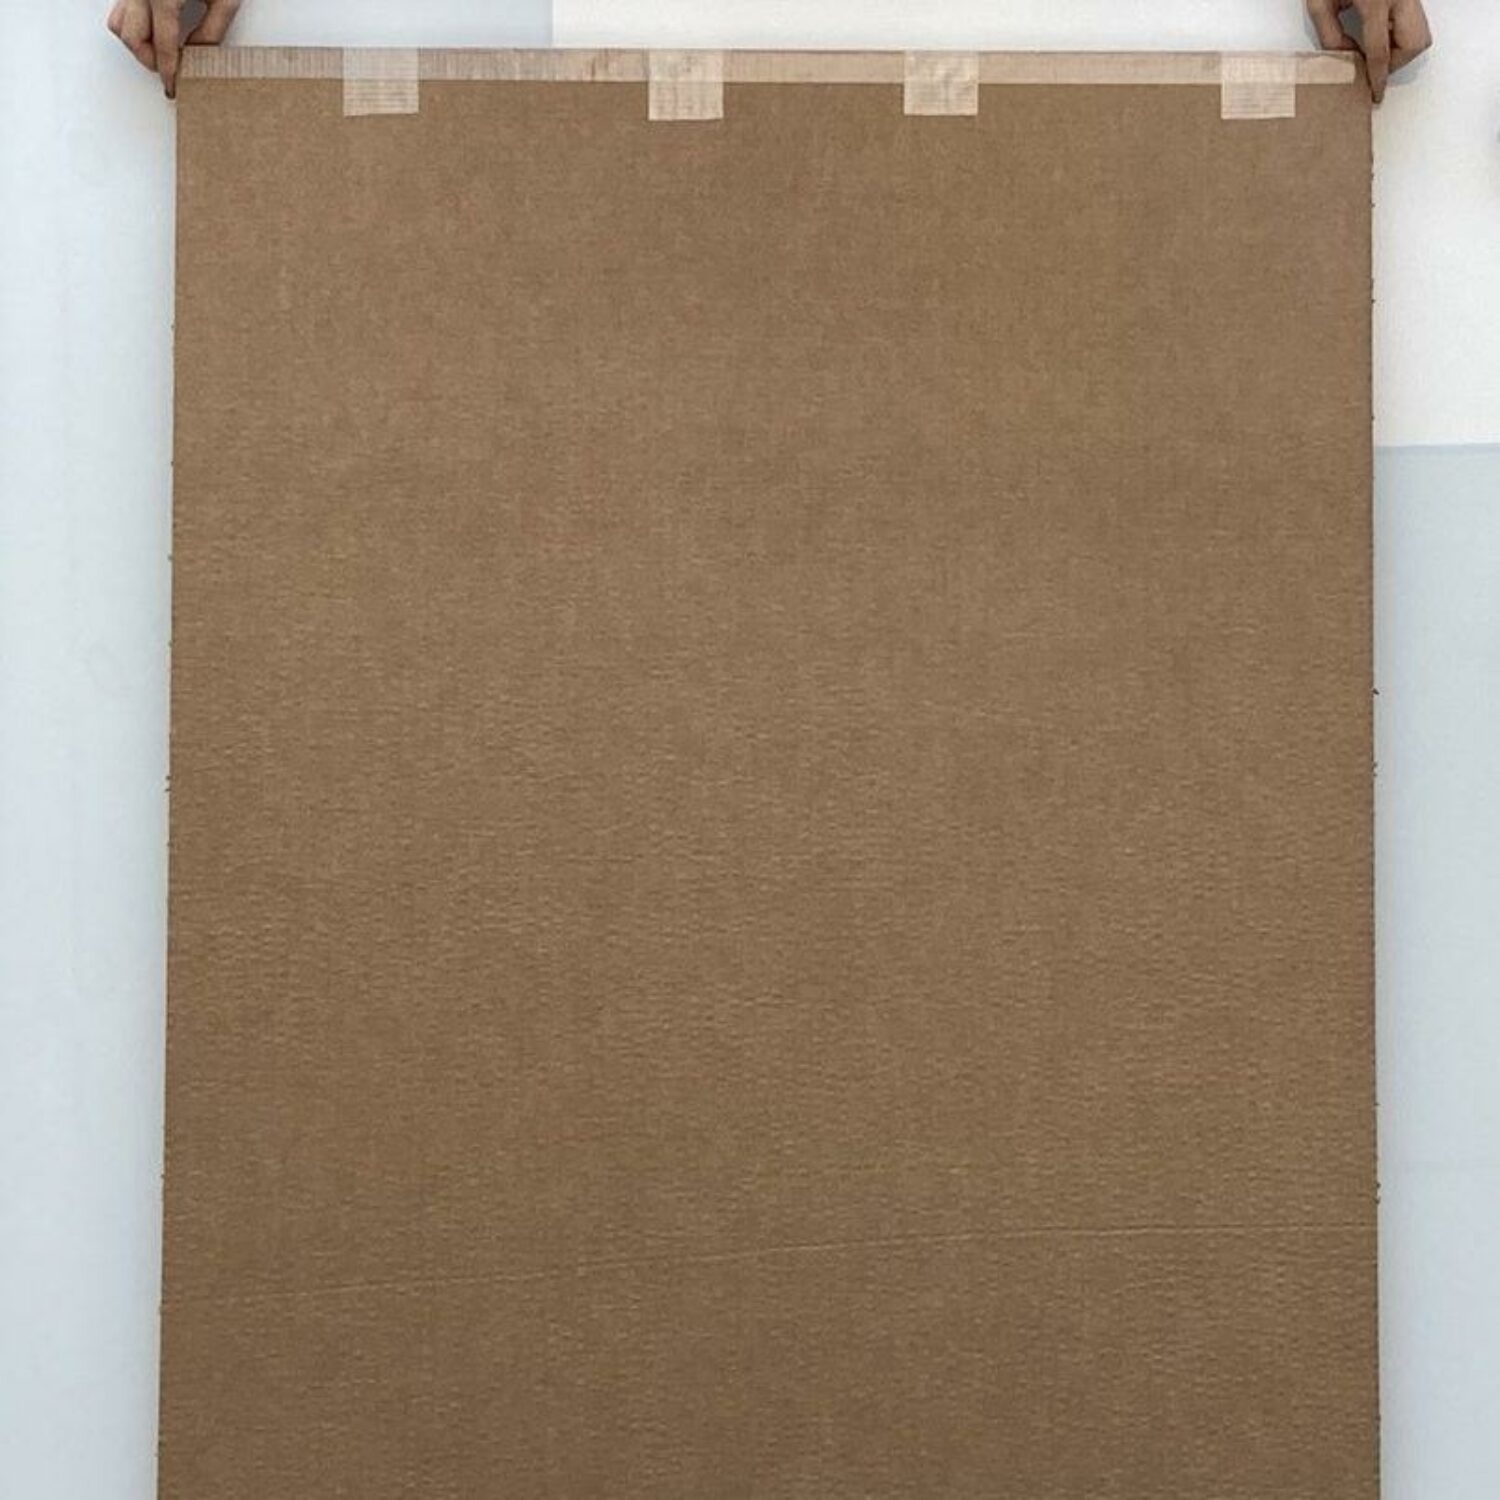
7. For larger prints, you may want to fold down additional pieces of A4 for more security along the sides of the artwork down from the corners.

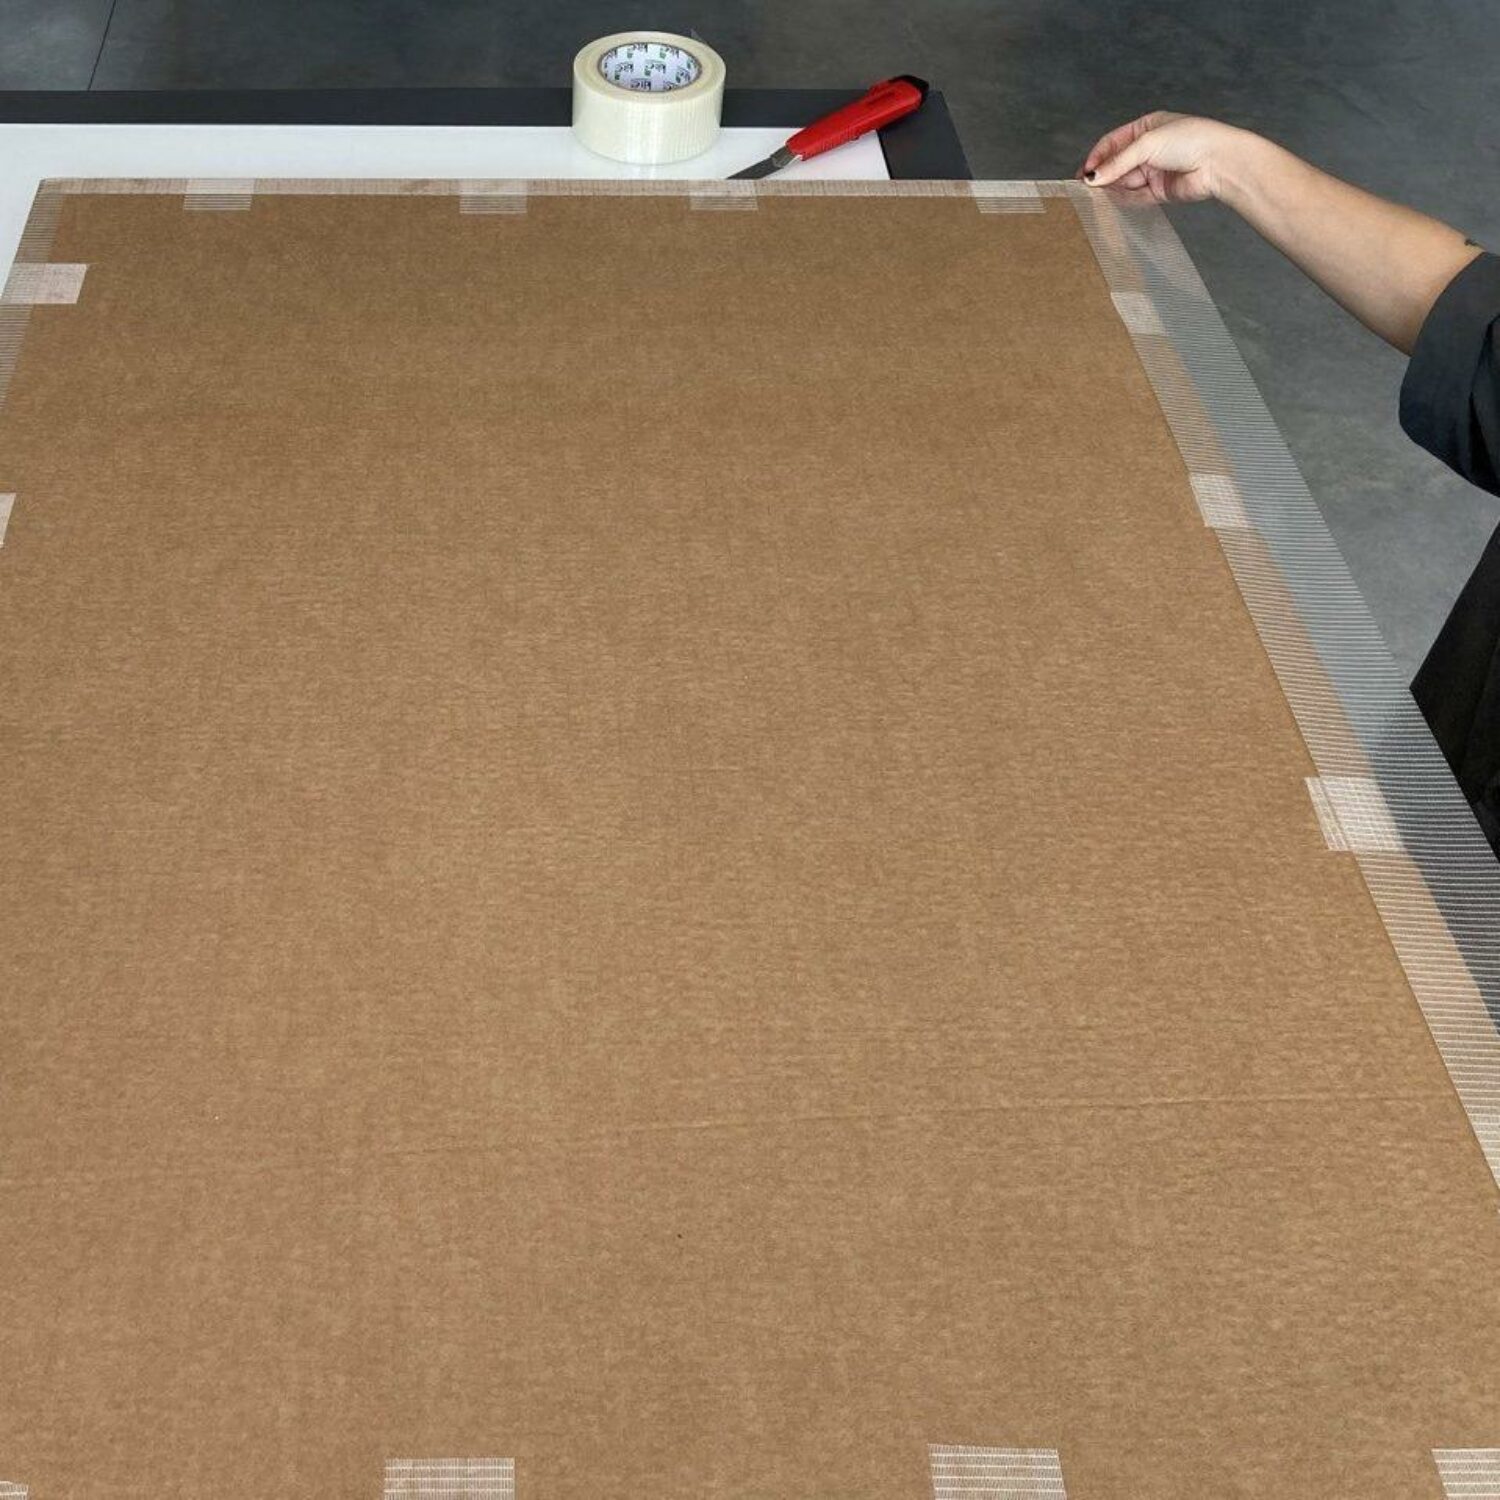
8. Gently check that the print does not move once all the sides are taped down.

9. An extra (optional) step: You could opt to wrap the entire flatpack in furni-soft, which is an insulating, moisture, and weather resistant protectant slightly similar to bubble wrap. Perfect if you live in a rainy city like London!

10. Place the other flat pack board on top of your print, sandwiching the artwork in the middle.

10. Place the other flat pack board on top of your print, sandwiching the artwork in the middle.

11. Using heavy duty tape, start taping up your flat pack making sure to use small pieces lengthwise and long pieces widthwise to completely seal off any gaps.

11. Using heavy duty tape, start taping up your flat pack making sure to use small pieces lengthwise and long pieces widthwise to completely seal off any gaps.

And there you have it, another print ready!

Don't hesitate to get in touch if you have any questions.

Don't hesitate to get in touch if you have any questions.

Hang-Up updates
Get our monthly collector briefing.